Our Mothers' Bites

savouring & sharing our culinary heritage

  • Who we are
  • Our Mothers’ Recipes
    • Desserts
      • Orange-Date Muffins
      • Grandma Fern’s Butter Tarts
      • Lemon Squares
      • “The Pie Queen’s” Apple Pie
    • Appetizers
      • Nuts & Bolts
      • Norwegian Whole Wheat Bread (KNEIPPBRØD)
    • Salads
      • Tomato Aspic Salad
  • From Garden to Table
    • Cucumber to pickle jar
  • Bites of Other Mothers
    • Appetizers
      • Esther’s Artichoke Nibbles
    • Desserts
      • Pat’s mother – Georgette’s Apple Crisp
    • Salads
      • Aunt Lois’ Nutty Broccoli Salad

Besta’s Raisin Pie

February 4, 2018 By Carrie

My friend Barb was born in Calgary, Alberta, about an hour’s drive east of the Rocky mountains. We met at a resort tucked in the midst of the Rockies where we both had found summer jobs- me in the dining room and Barb at the front desk where she welcomed guests with her sunny smile. Barb has Scottish/British roots (from her mom’s side) and Norwegian roots (from her father’s side), which helps explain why she loves oatmeal in the morning and hiking and skiing whenever she can find the time.

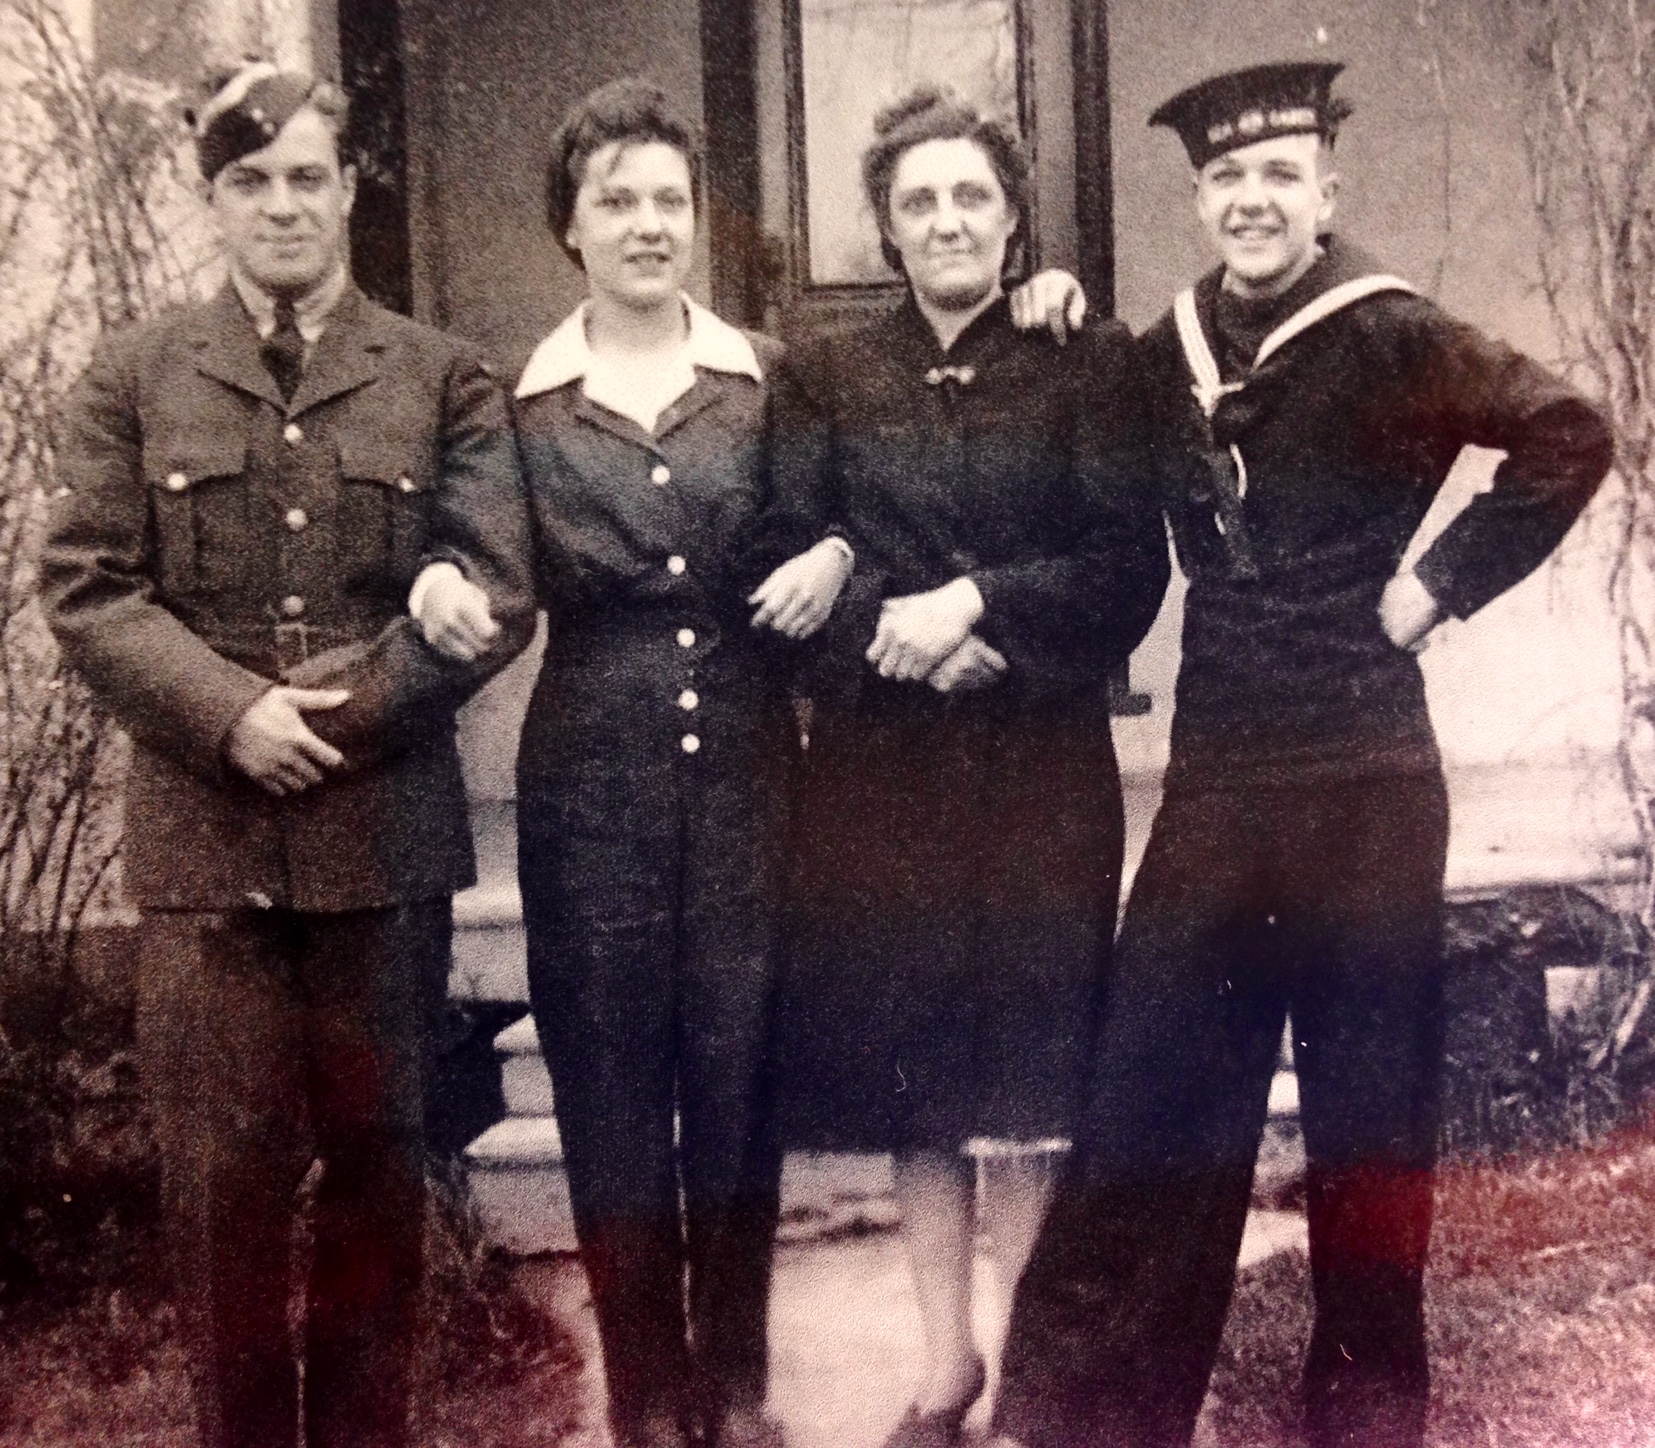
Barb’s paternal grandmother was known as “Besta” (“Bestemor” being Norwegian for grandmother).

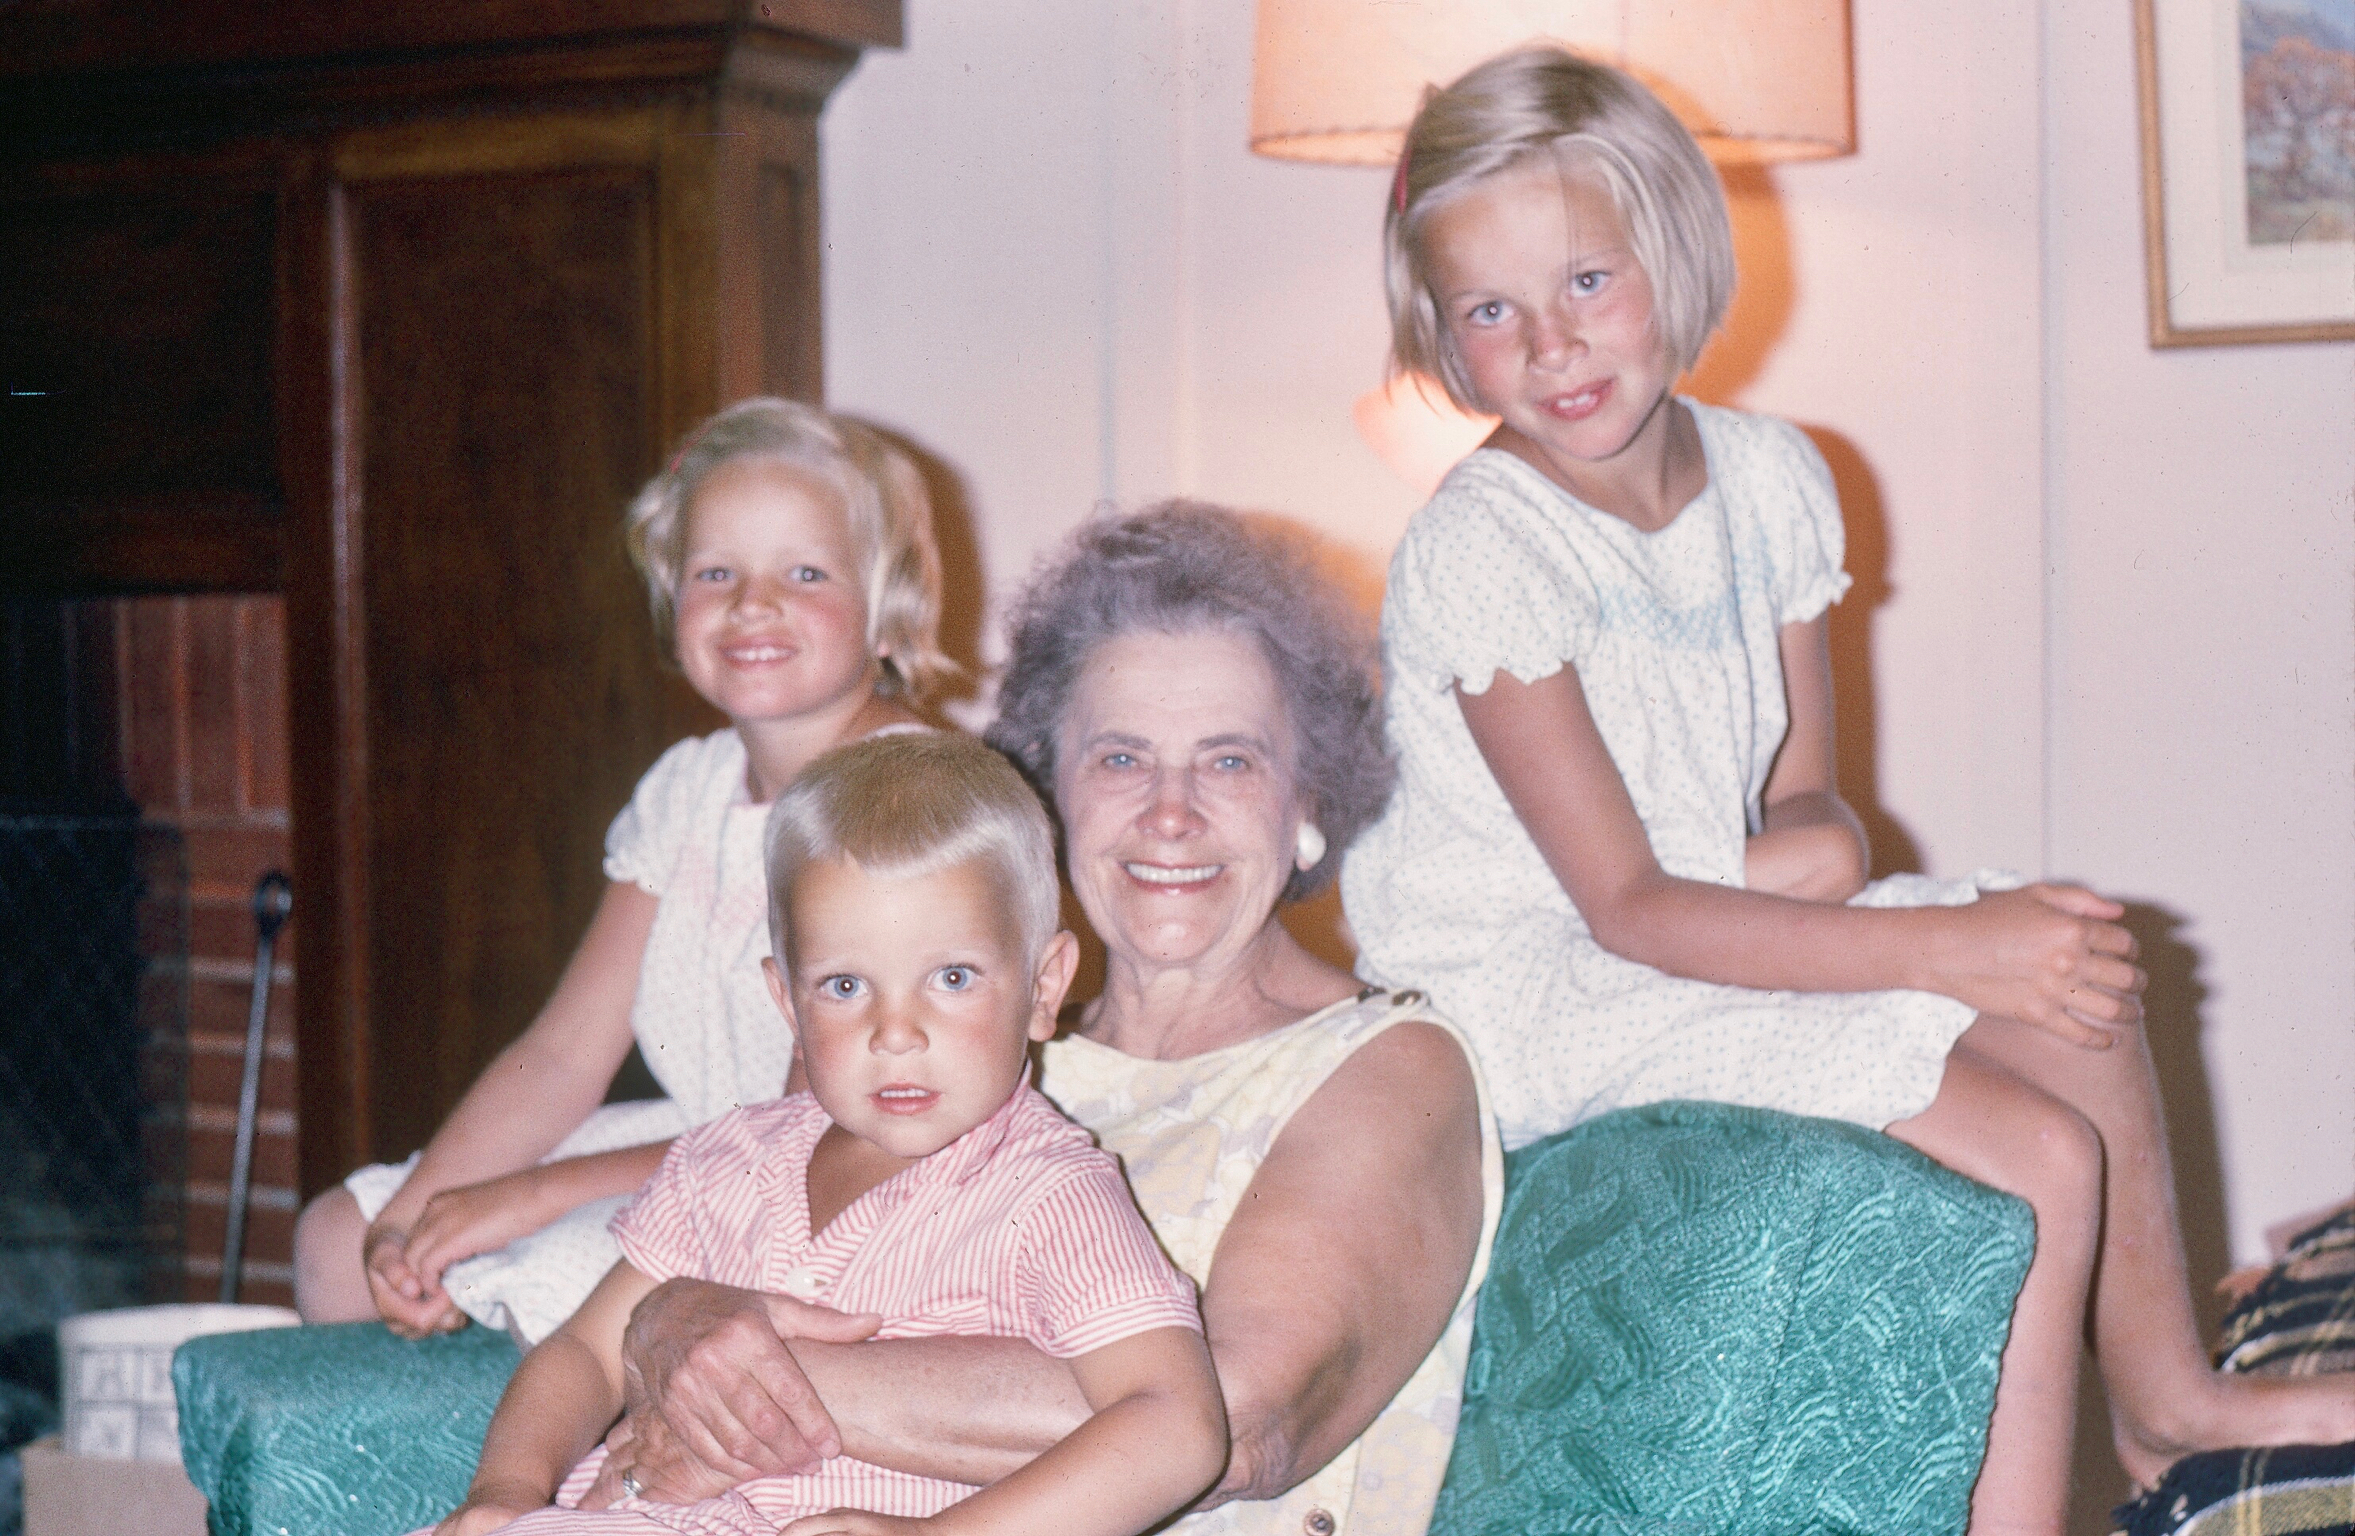
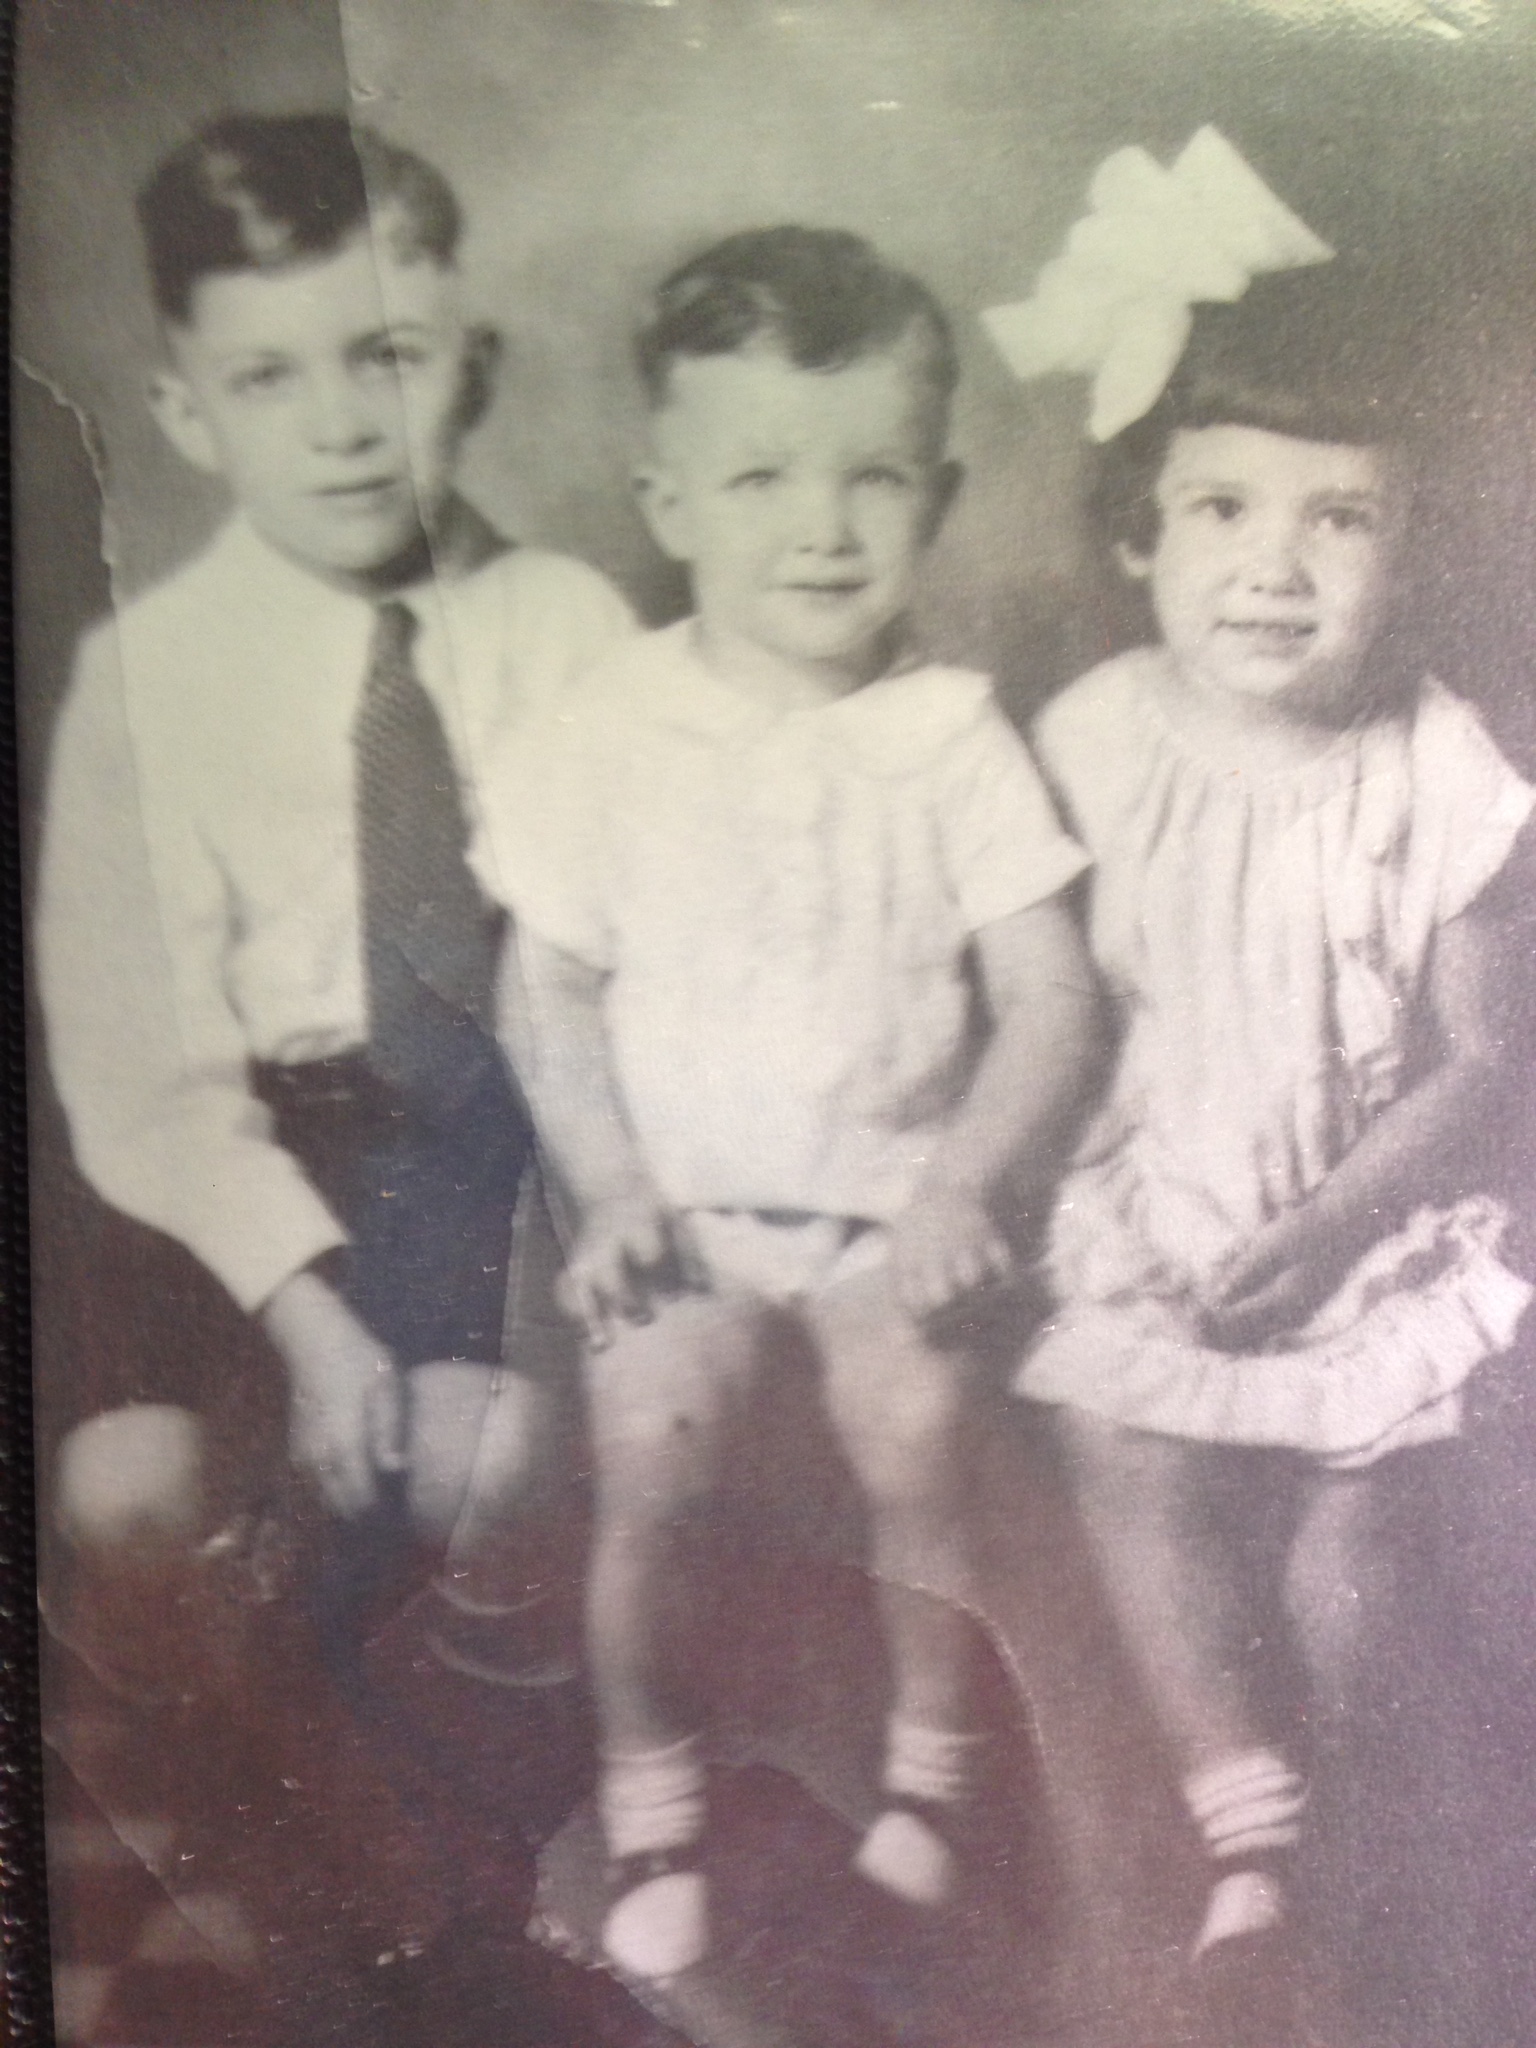
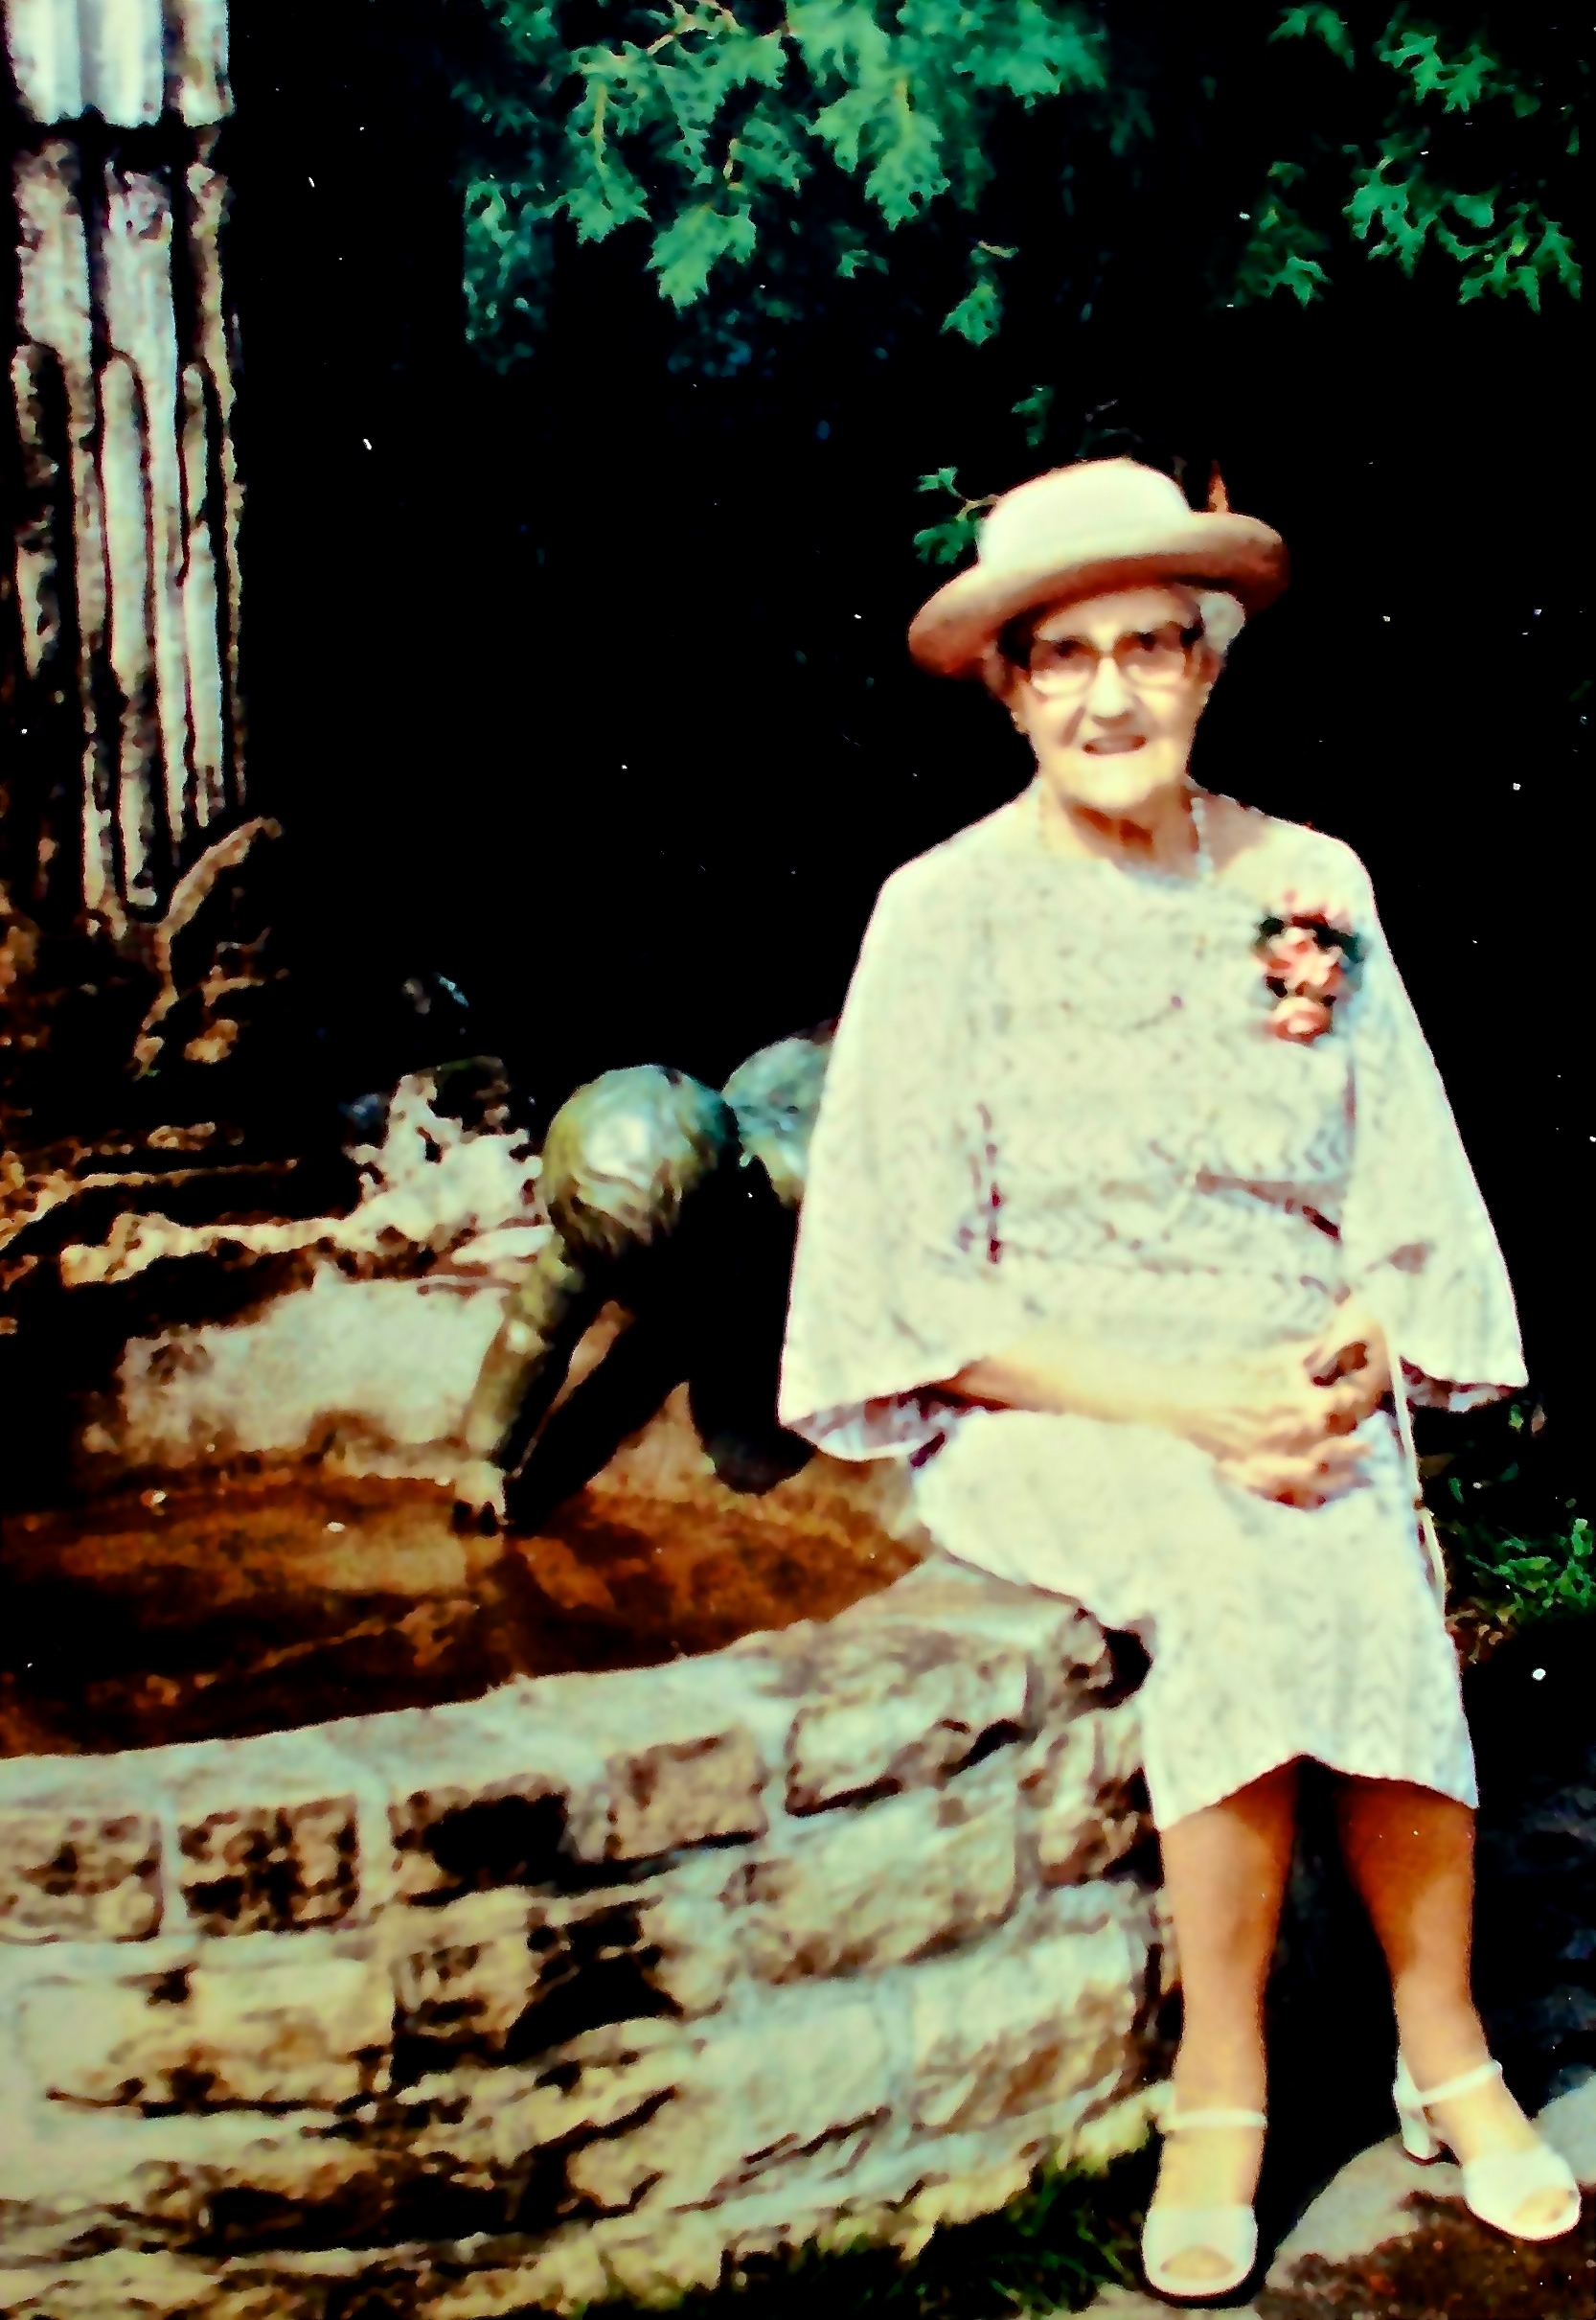
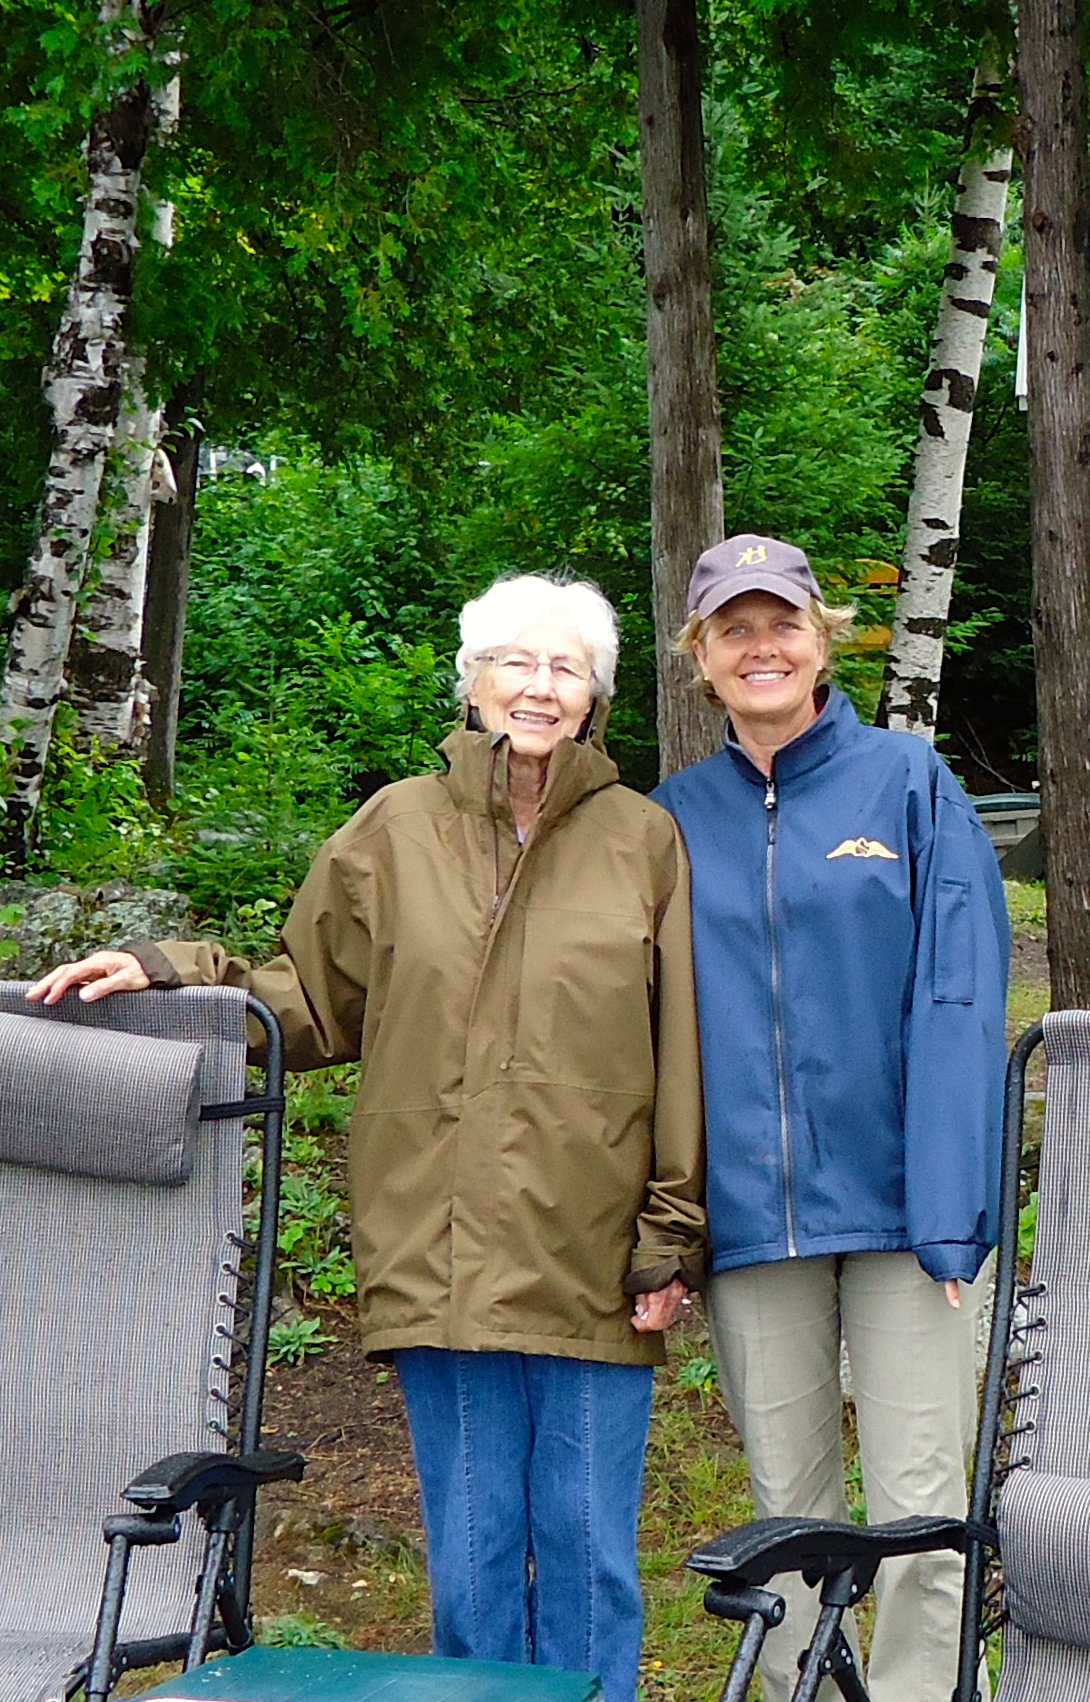
Besta and her grandchildren, Sue, Russ & my friend Barb

Besta was a warm and wonderful grandmother as well as a fantastic cook. In the late 1920’s, Besta left Grand Bend, Ontario for Calgary, where she met and married Barb’s “Gramps”. During the 1940’s and 1950’s, Besta cared for her two sons alone during the week while her husband worked out of town for the United Grain Growers. Barb’s dad recalls those days like this:

     ”We had our big meal at noon, usually spaghetti with meatballs, waffles or poached eggs with spinach. The highlight of every meal was my mother’s homemade dessert- tapioca, rice or lemon pudding or, if we were really lucky, my favourite raisin pie. Her Christmas baking was wonderful too- dark and light Christmas cakes, tarts and hard toffee being the most popular”. 

Barb’s dad has fond memories of his mother’s warmth and laughter– she laughed even when scolding her two boys to “slow down!” at the dinner table so that she could sit and eat her meal along with them. Barb has fond memories of Besta too, of her beautiful summer garden overflowing with hollyhocks, peonies and snapdragons, of shopping at Woolworth’s with her in downtown Calgary along with her younger sister Sue, and especially of Besta arriving for Sunday dinners with a freshly baked raisin pie, transported in a vintage Kodak movie film tin.

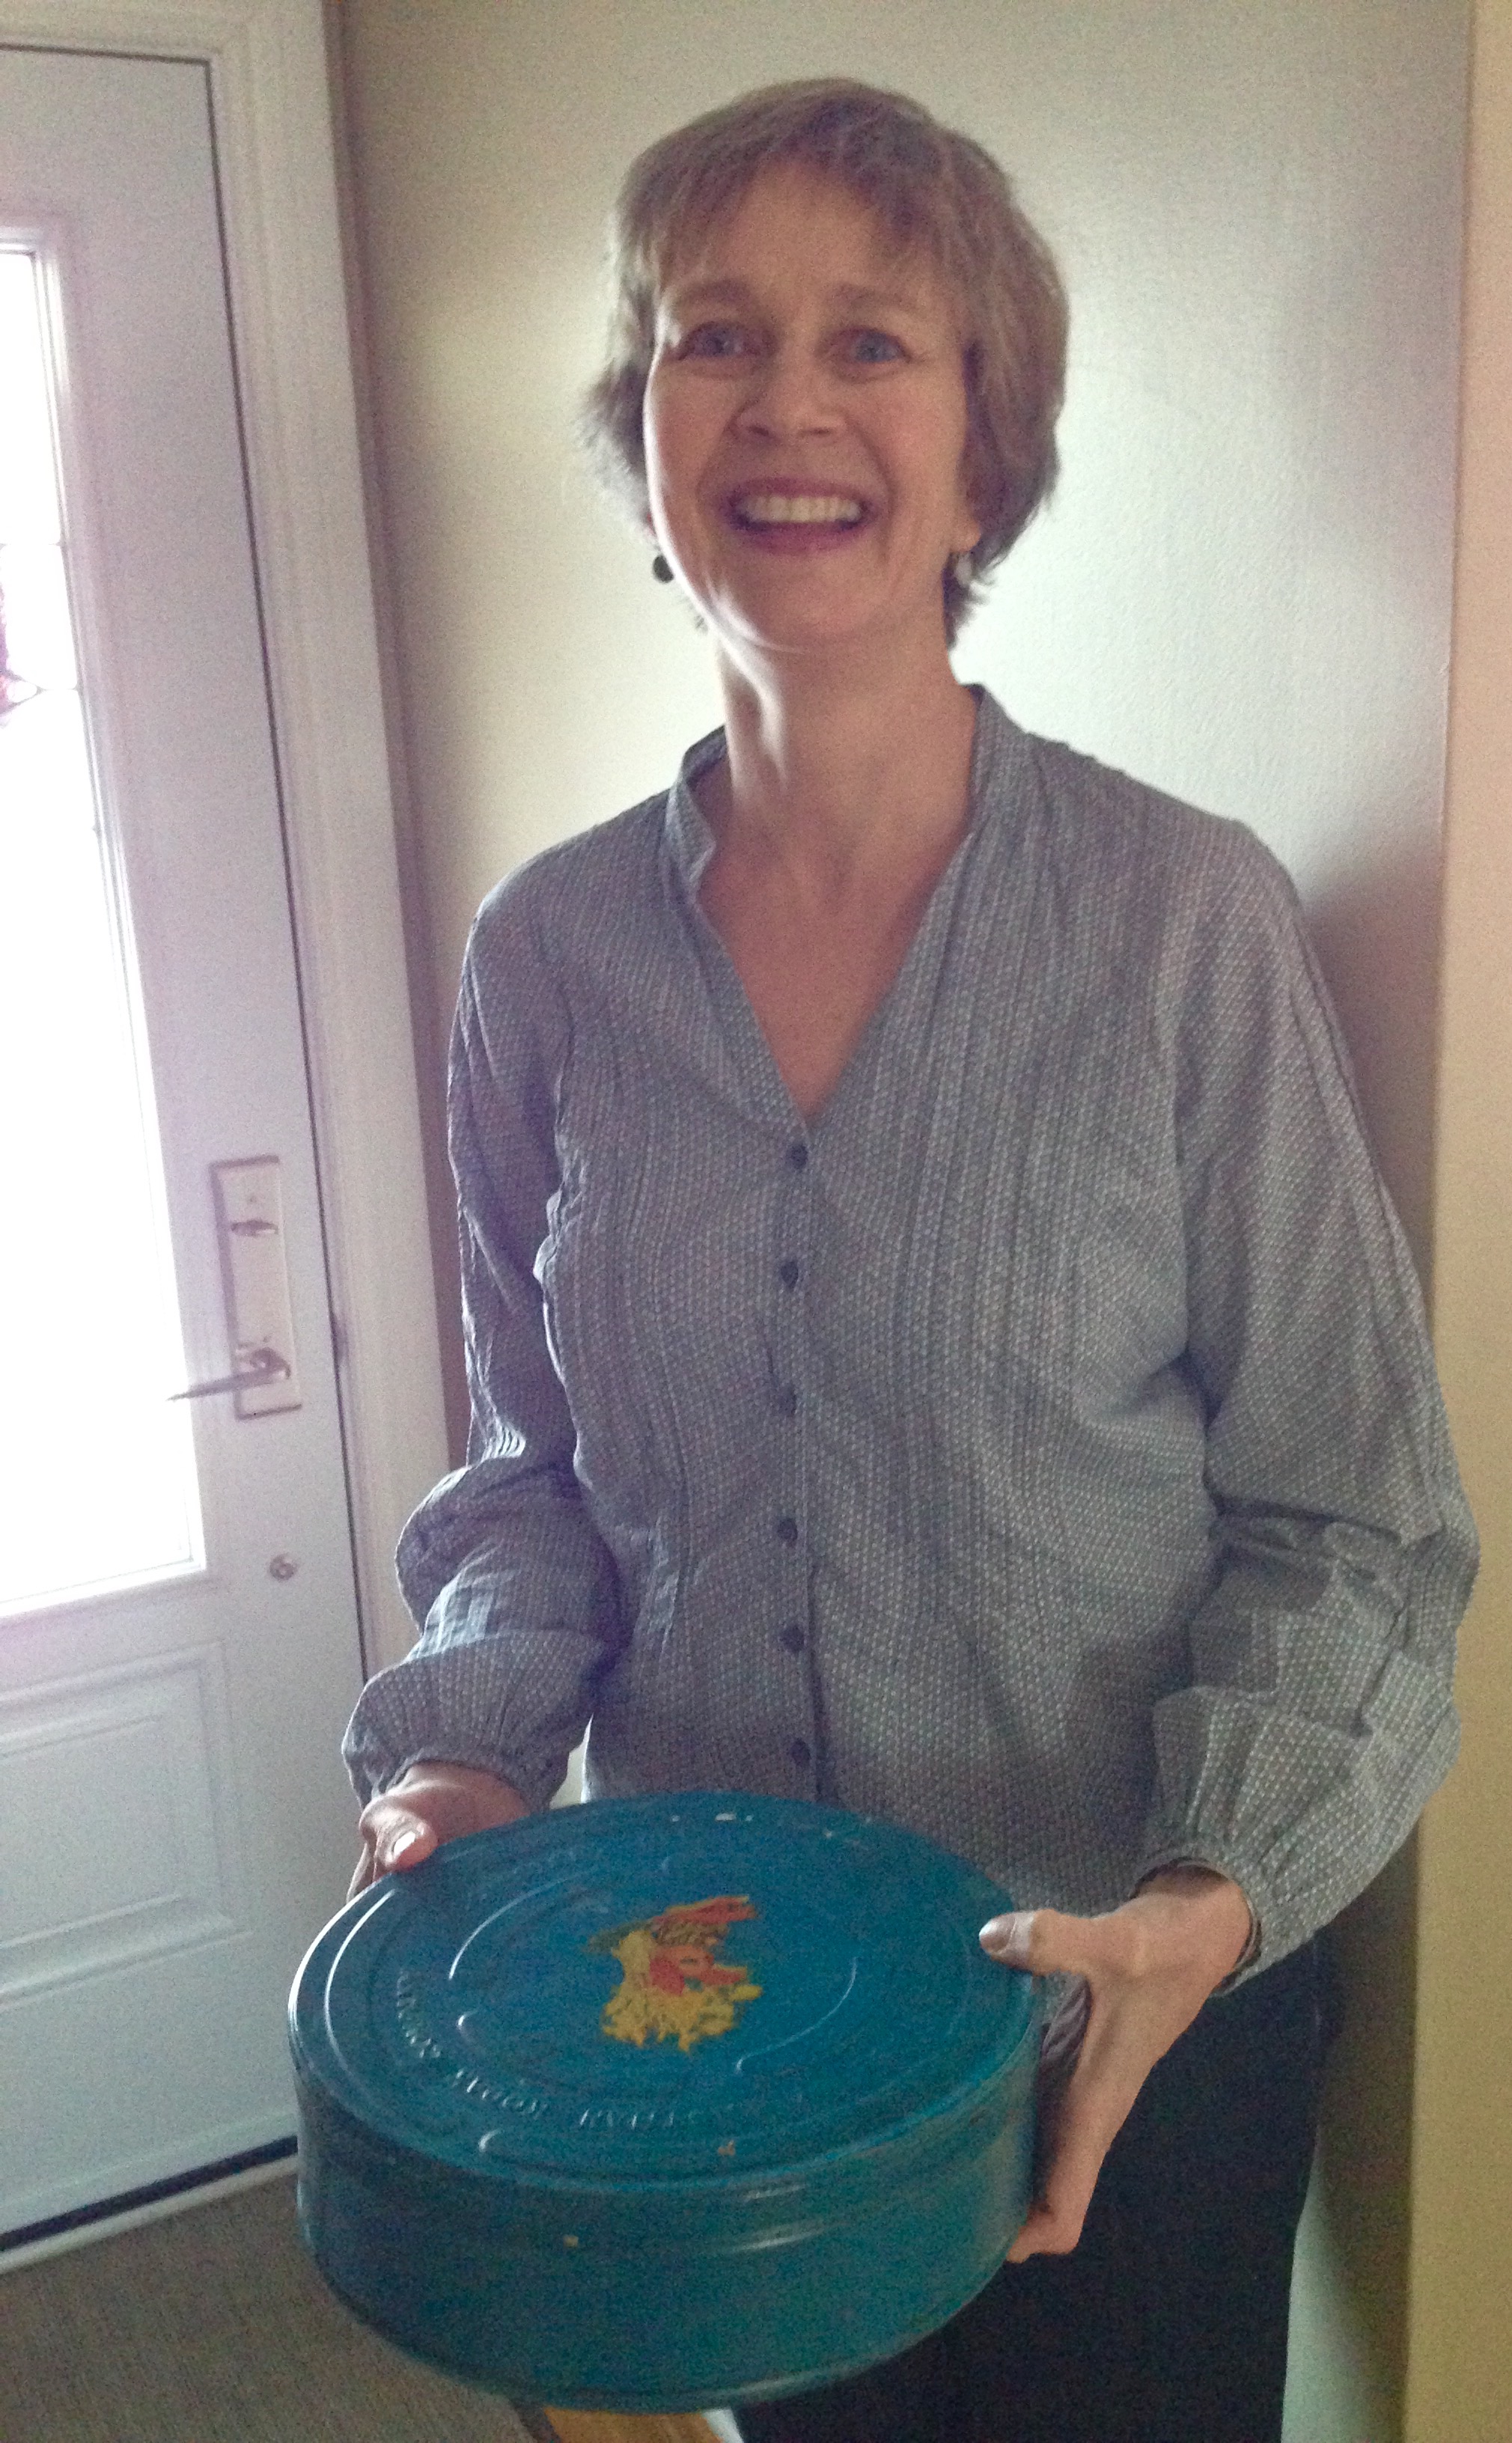
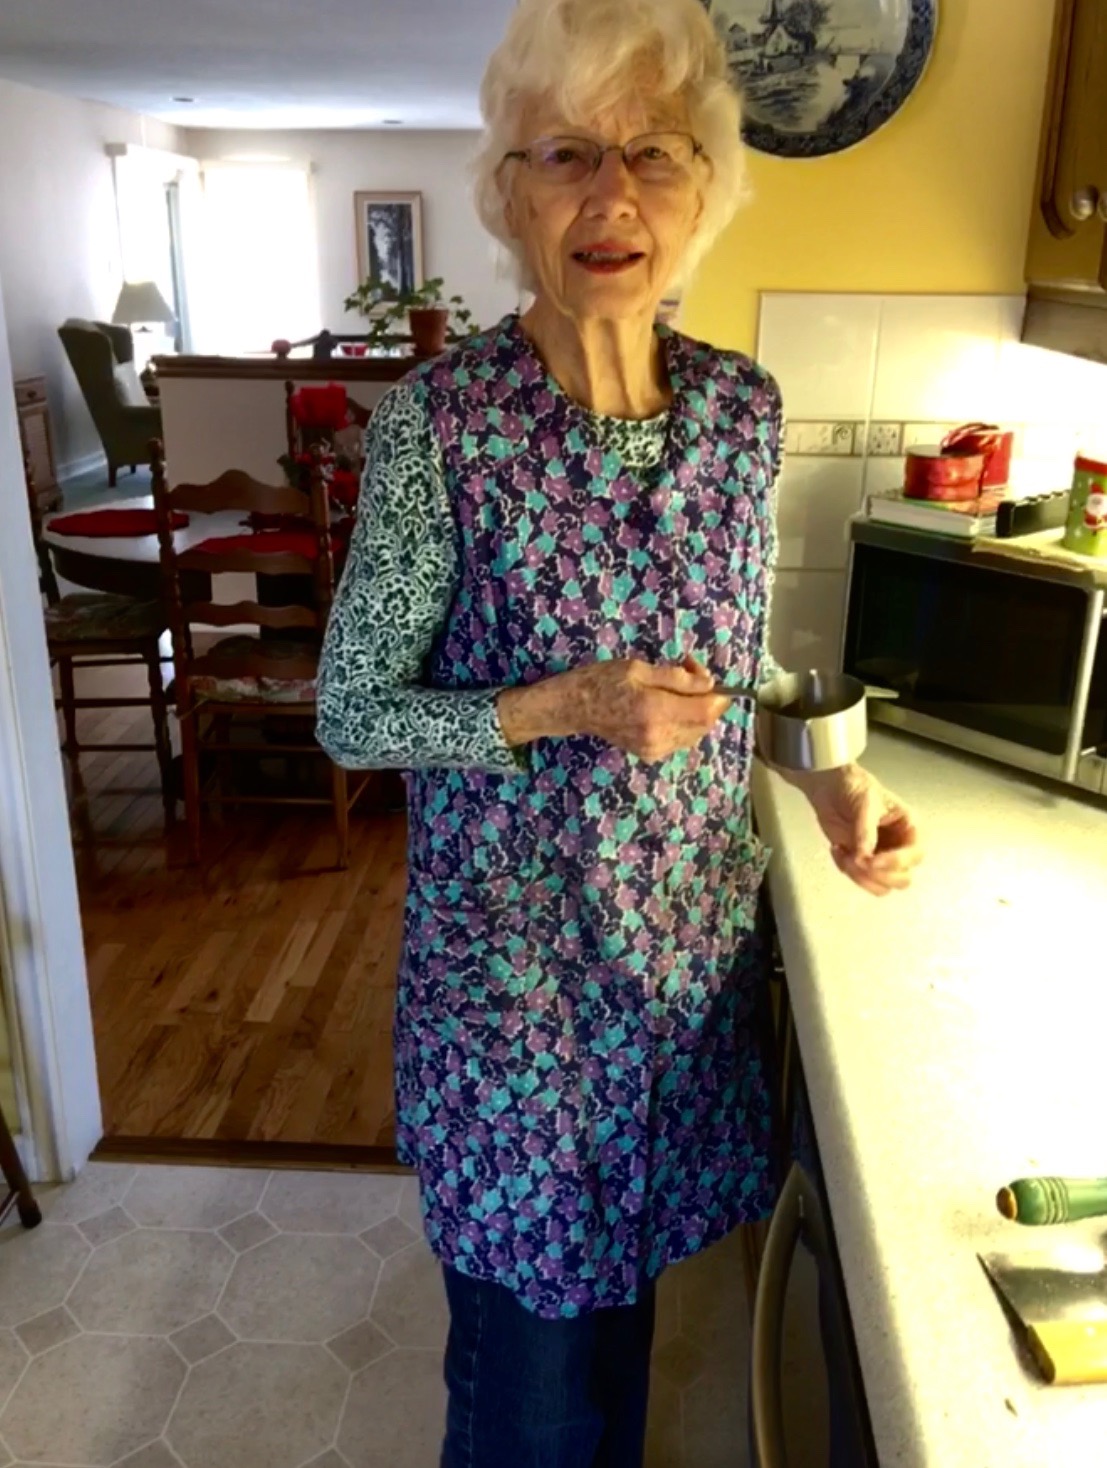
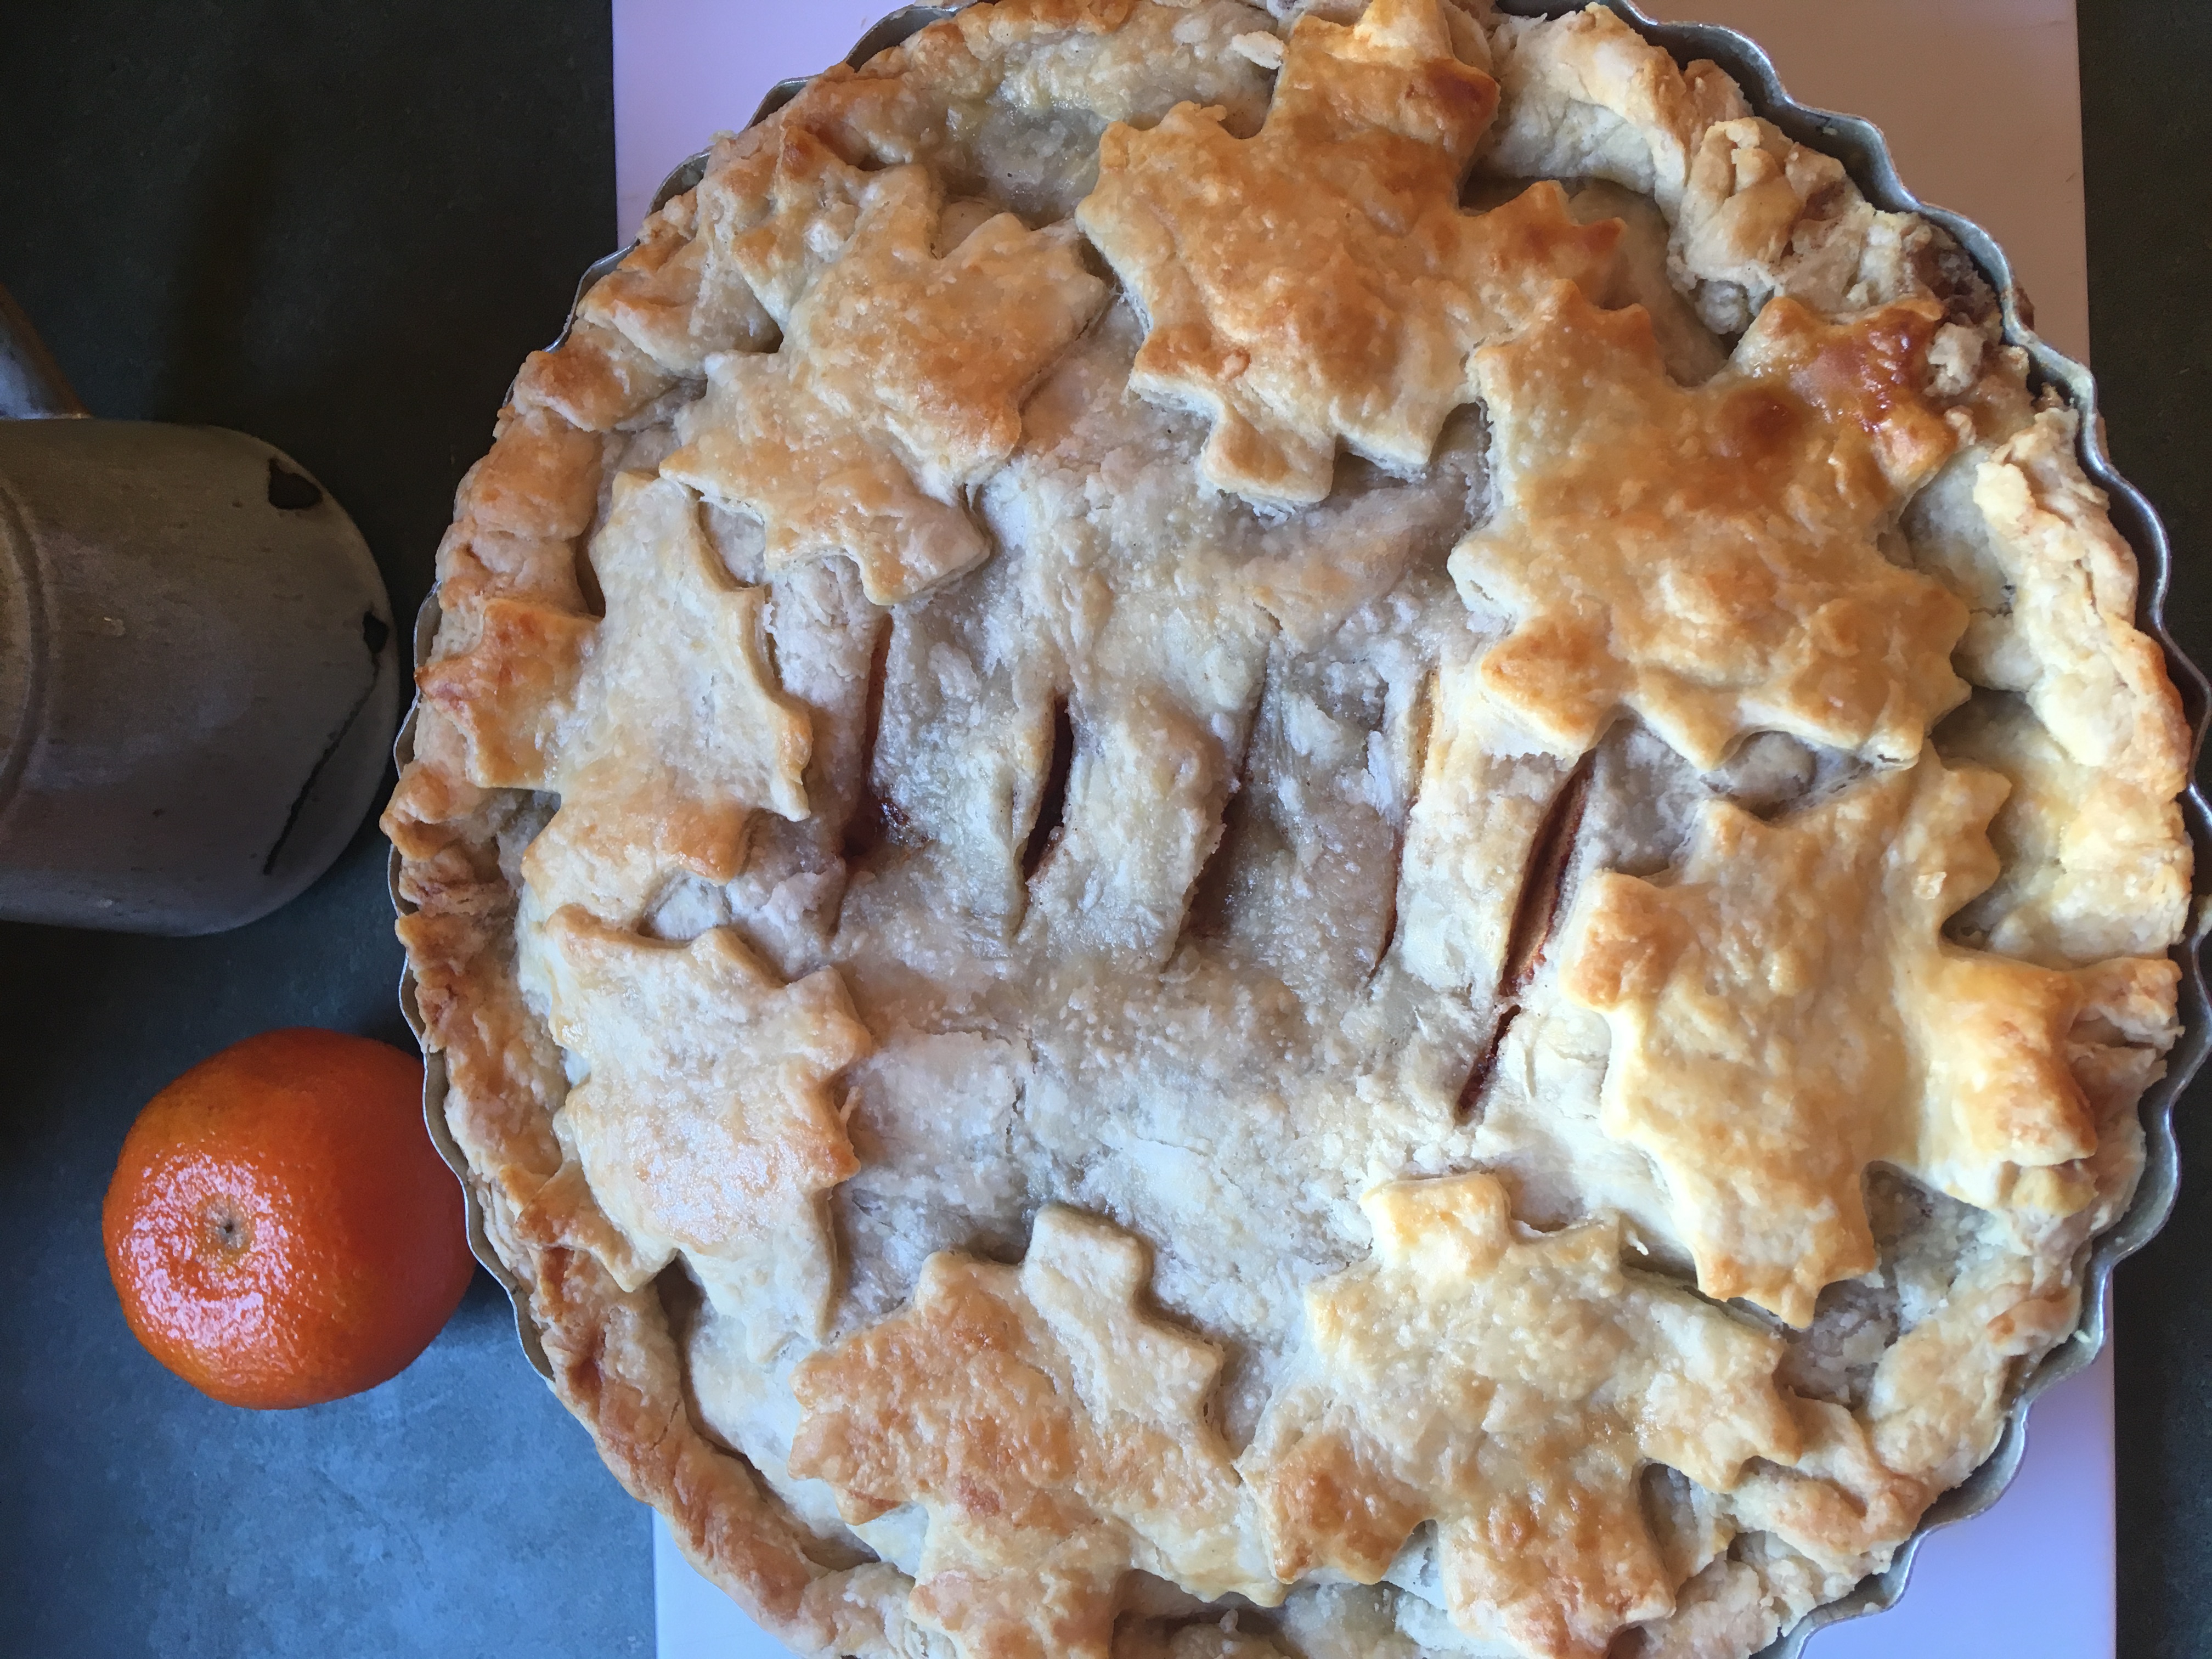
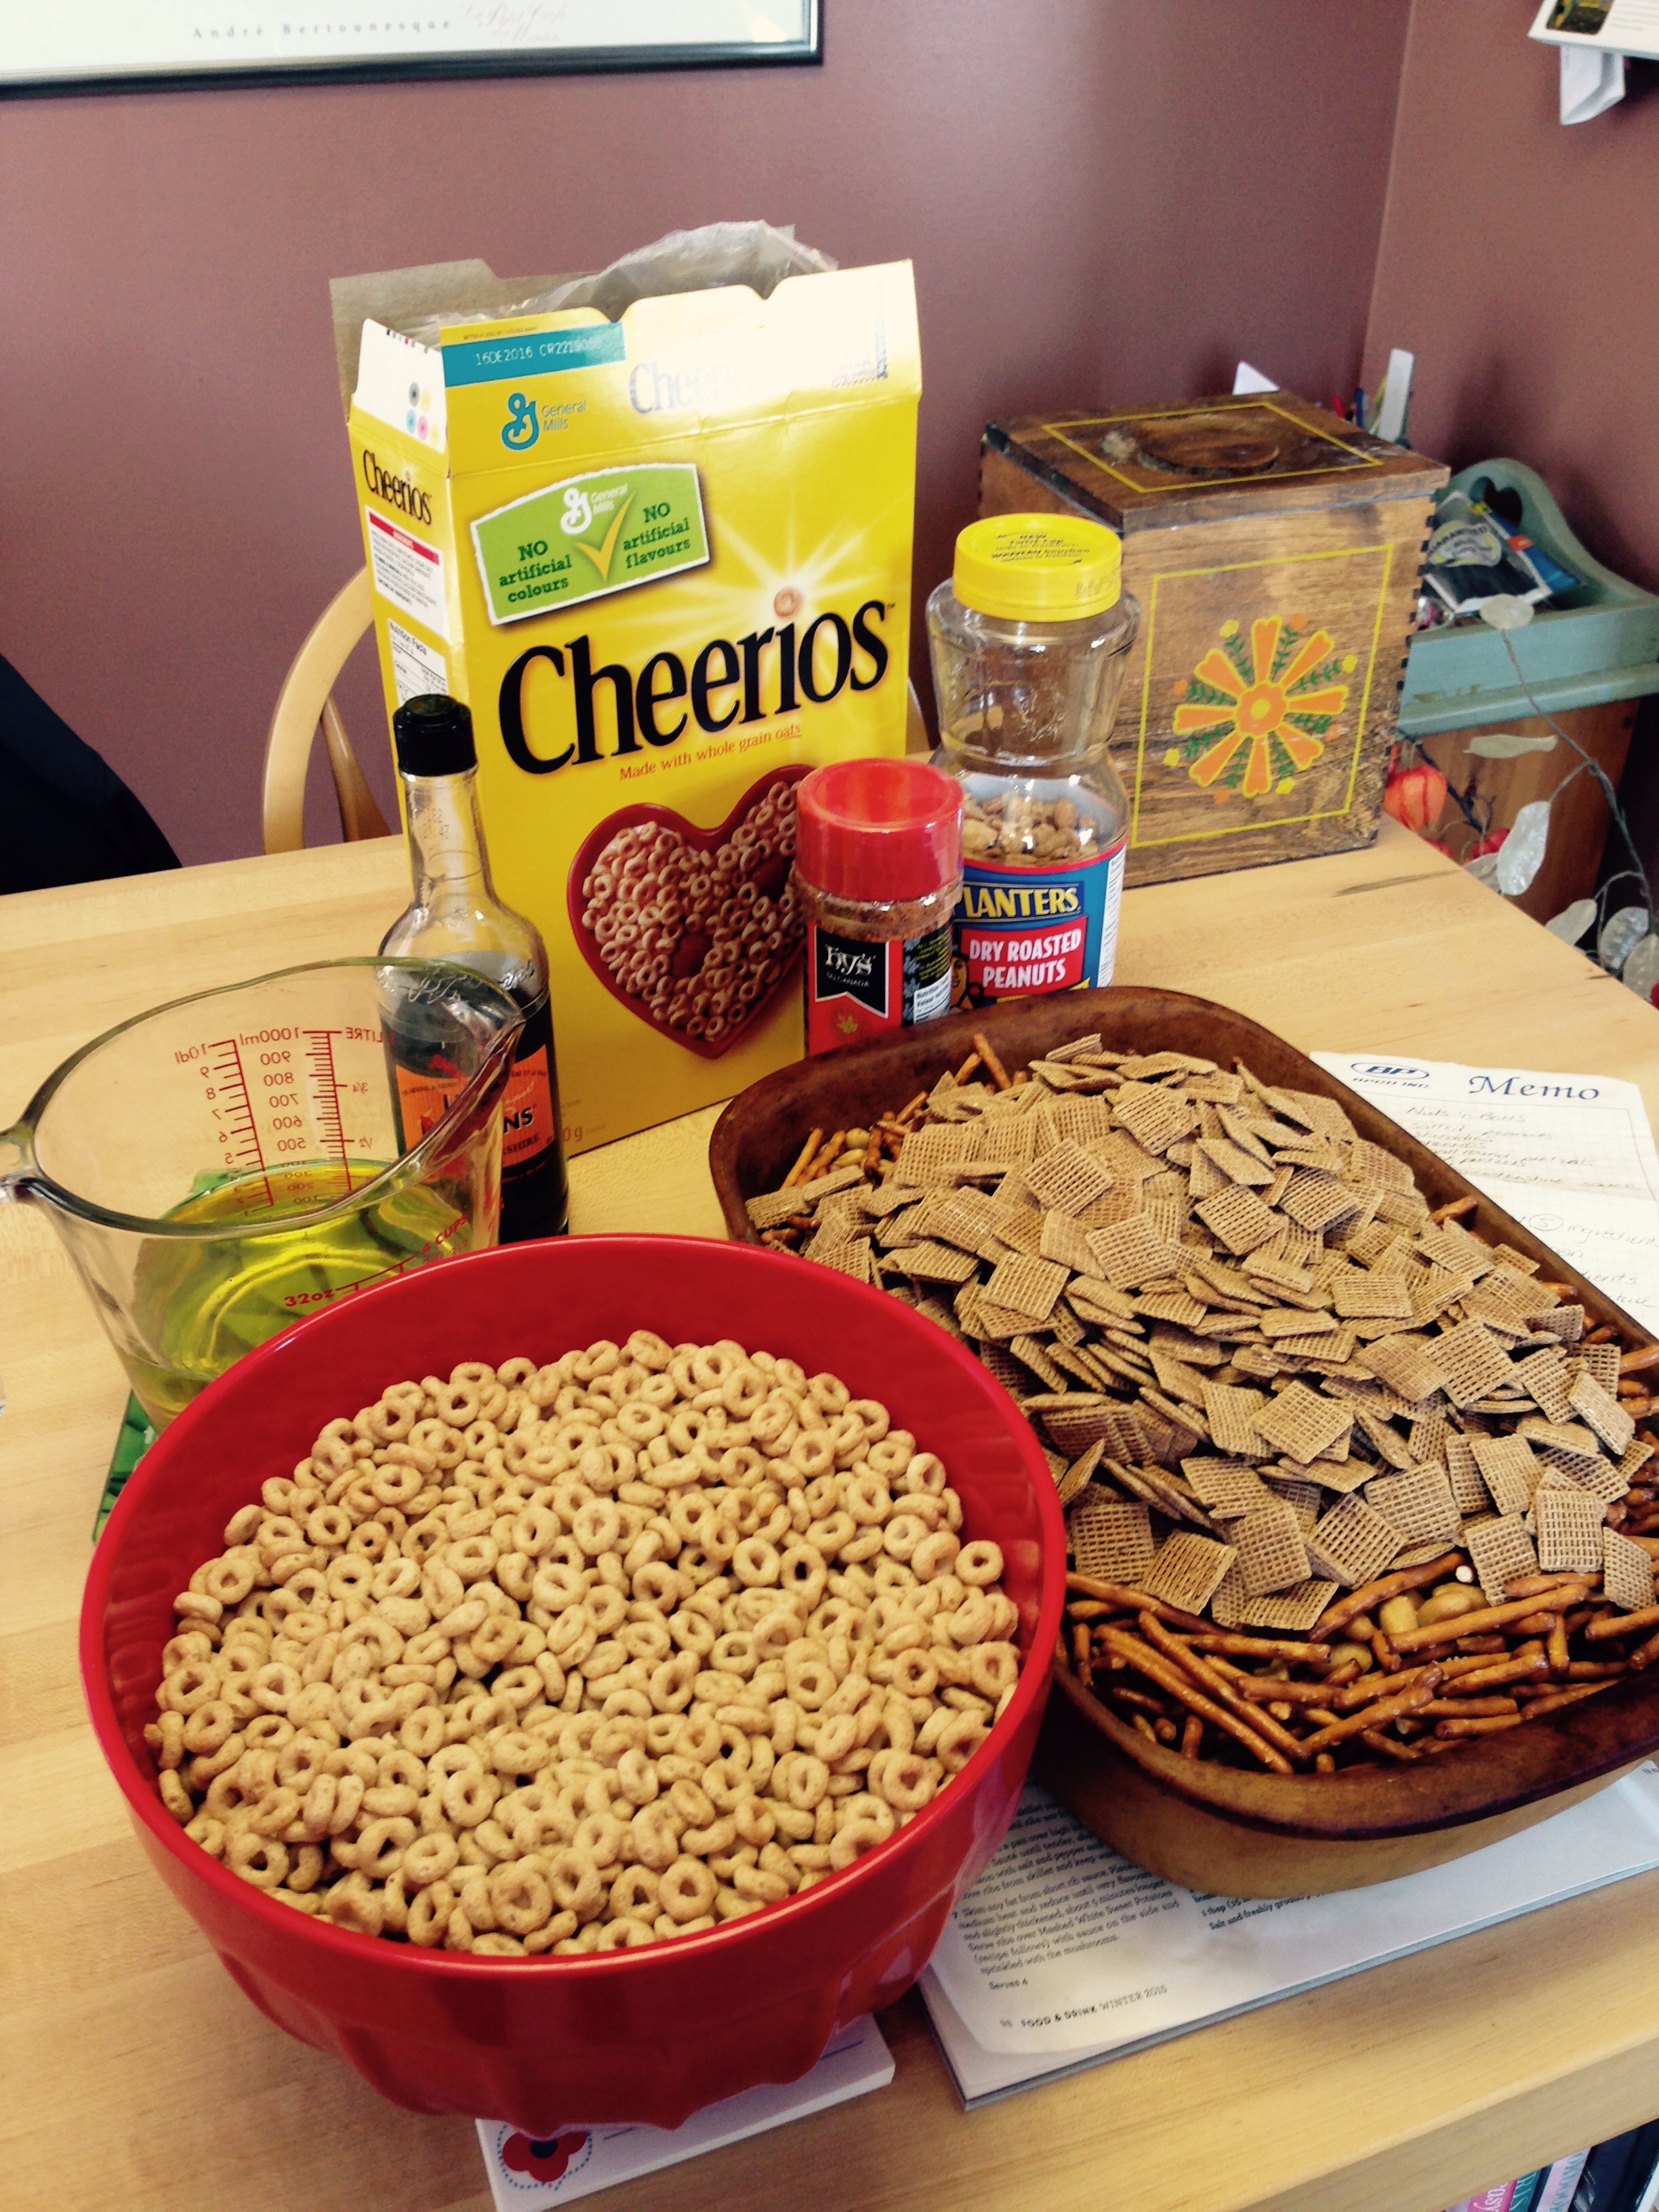
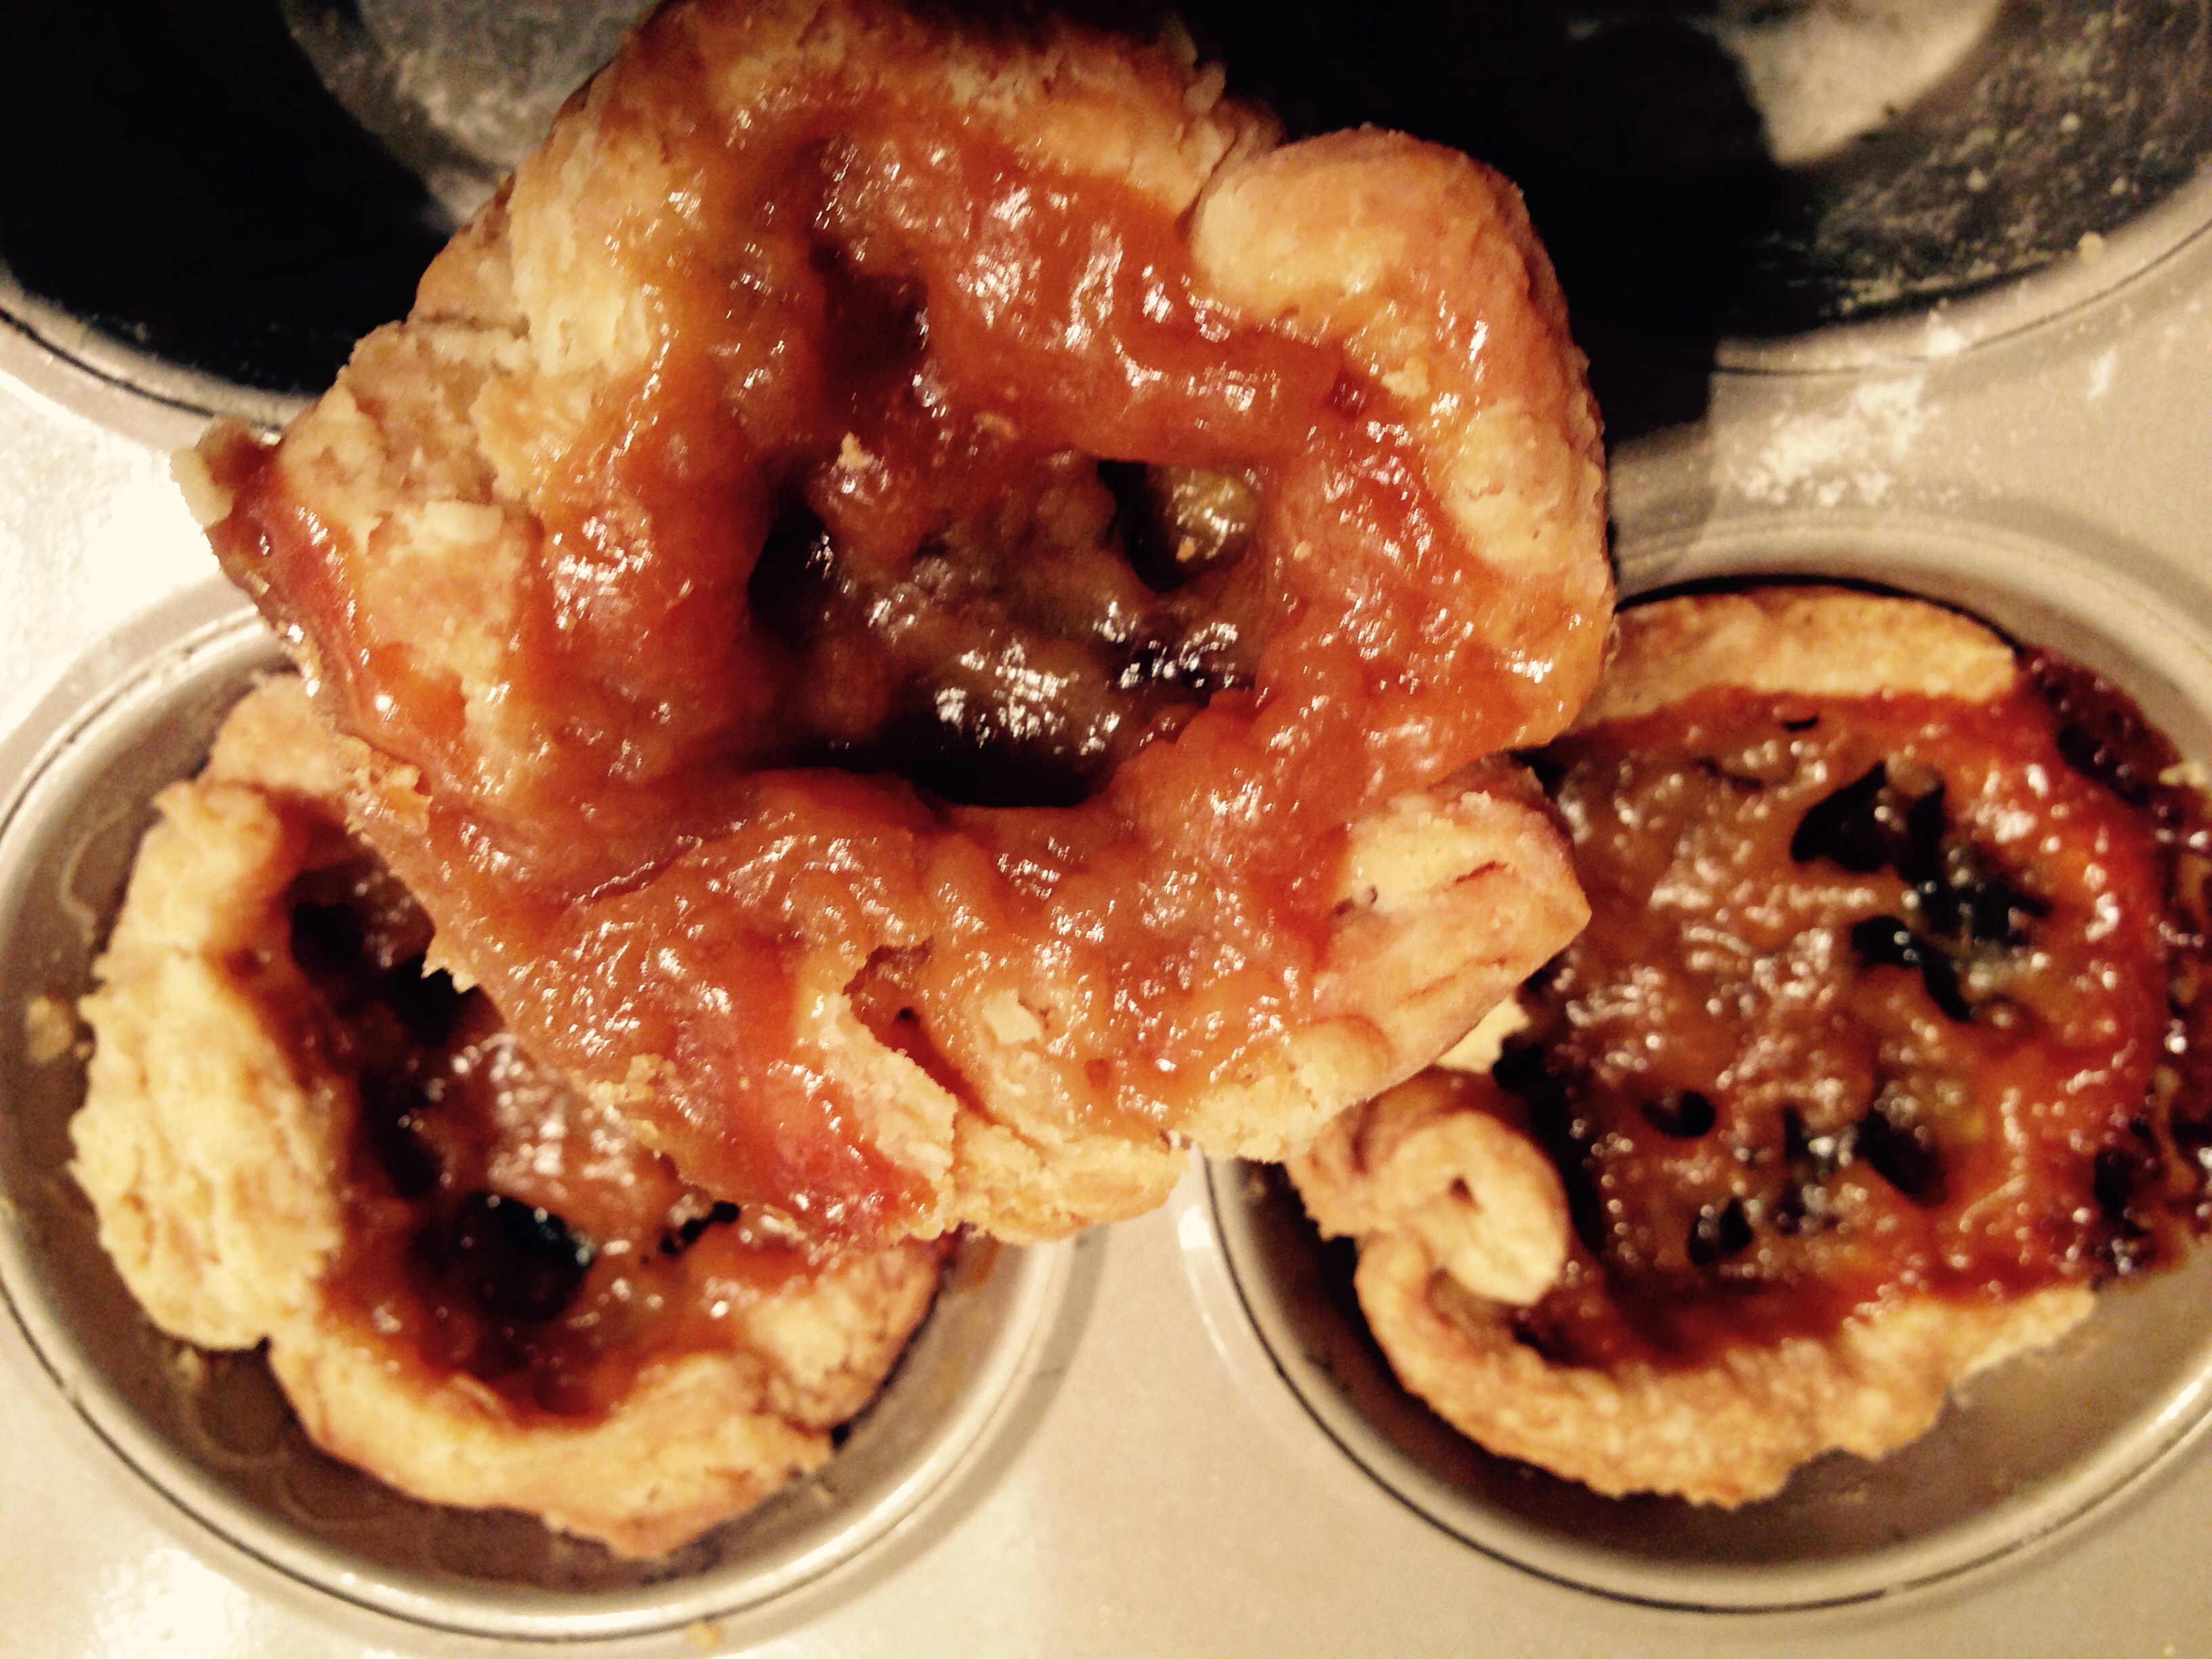
The vintage film tin hasn’t retired yet!

Besta’s Raisin Pie (recipe is for pie filling- make pastry in advance)

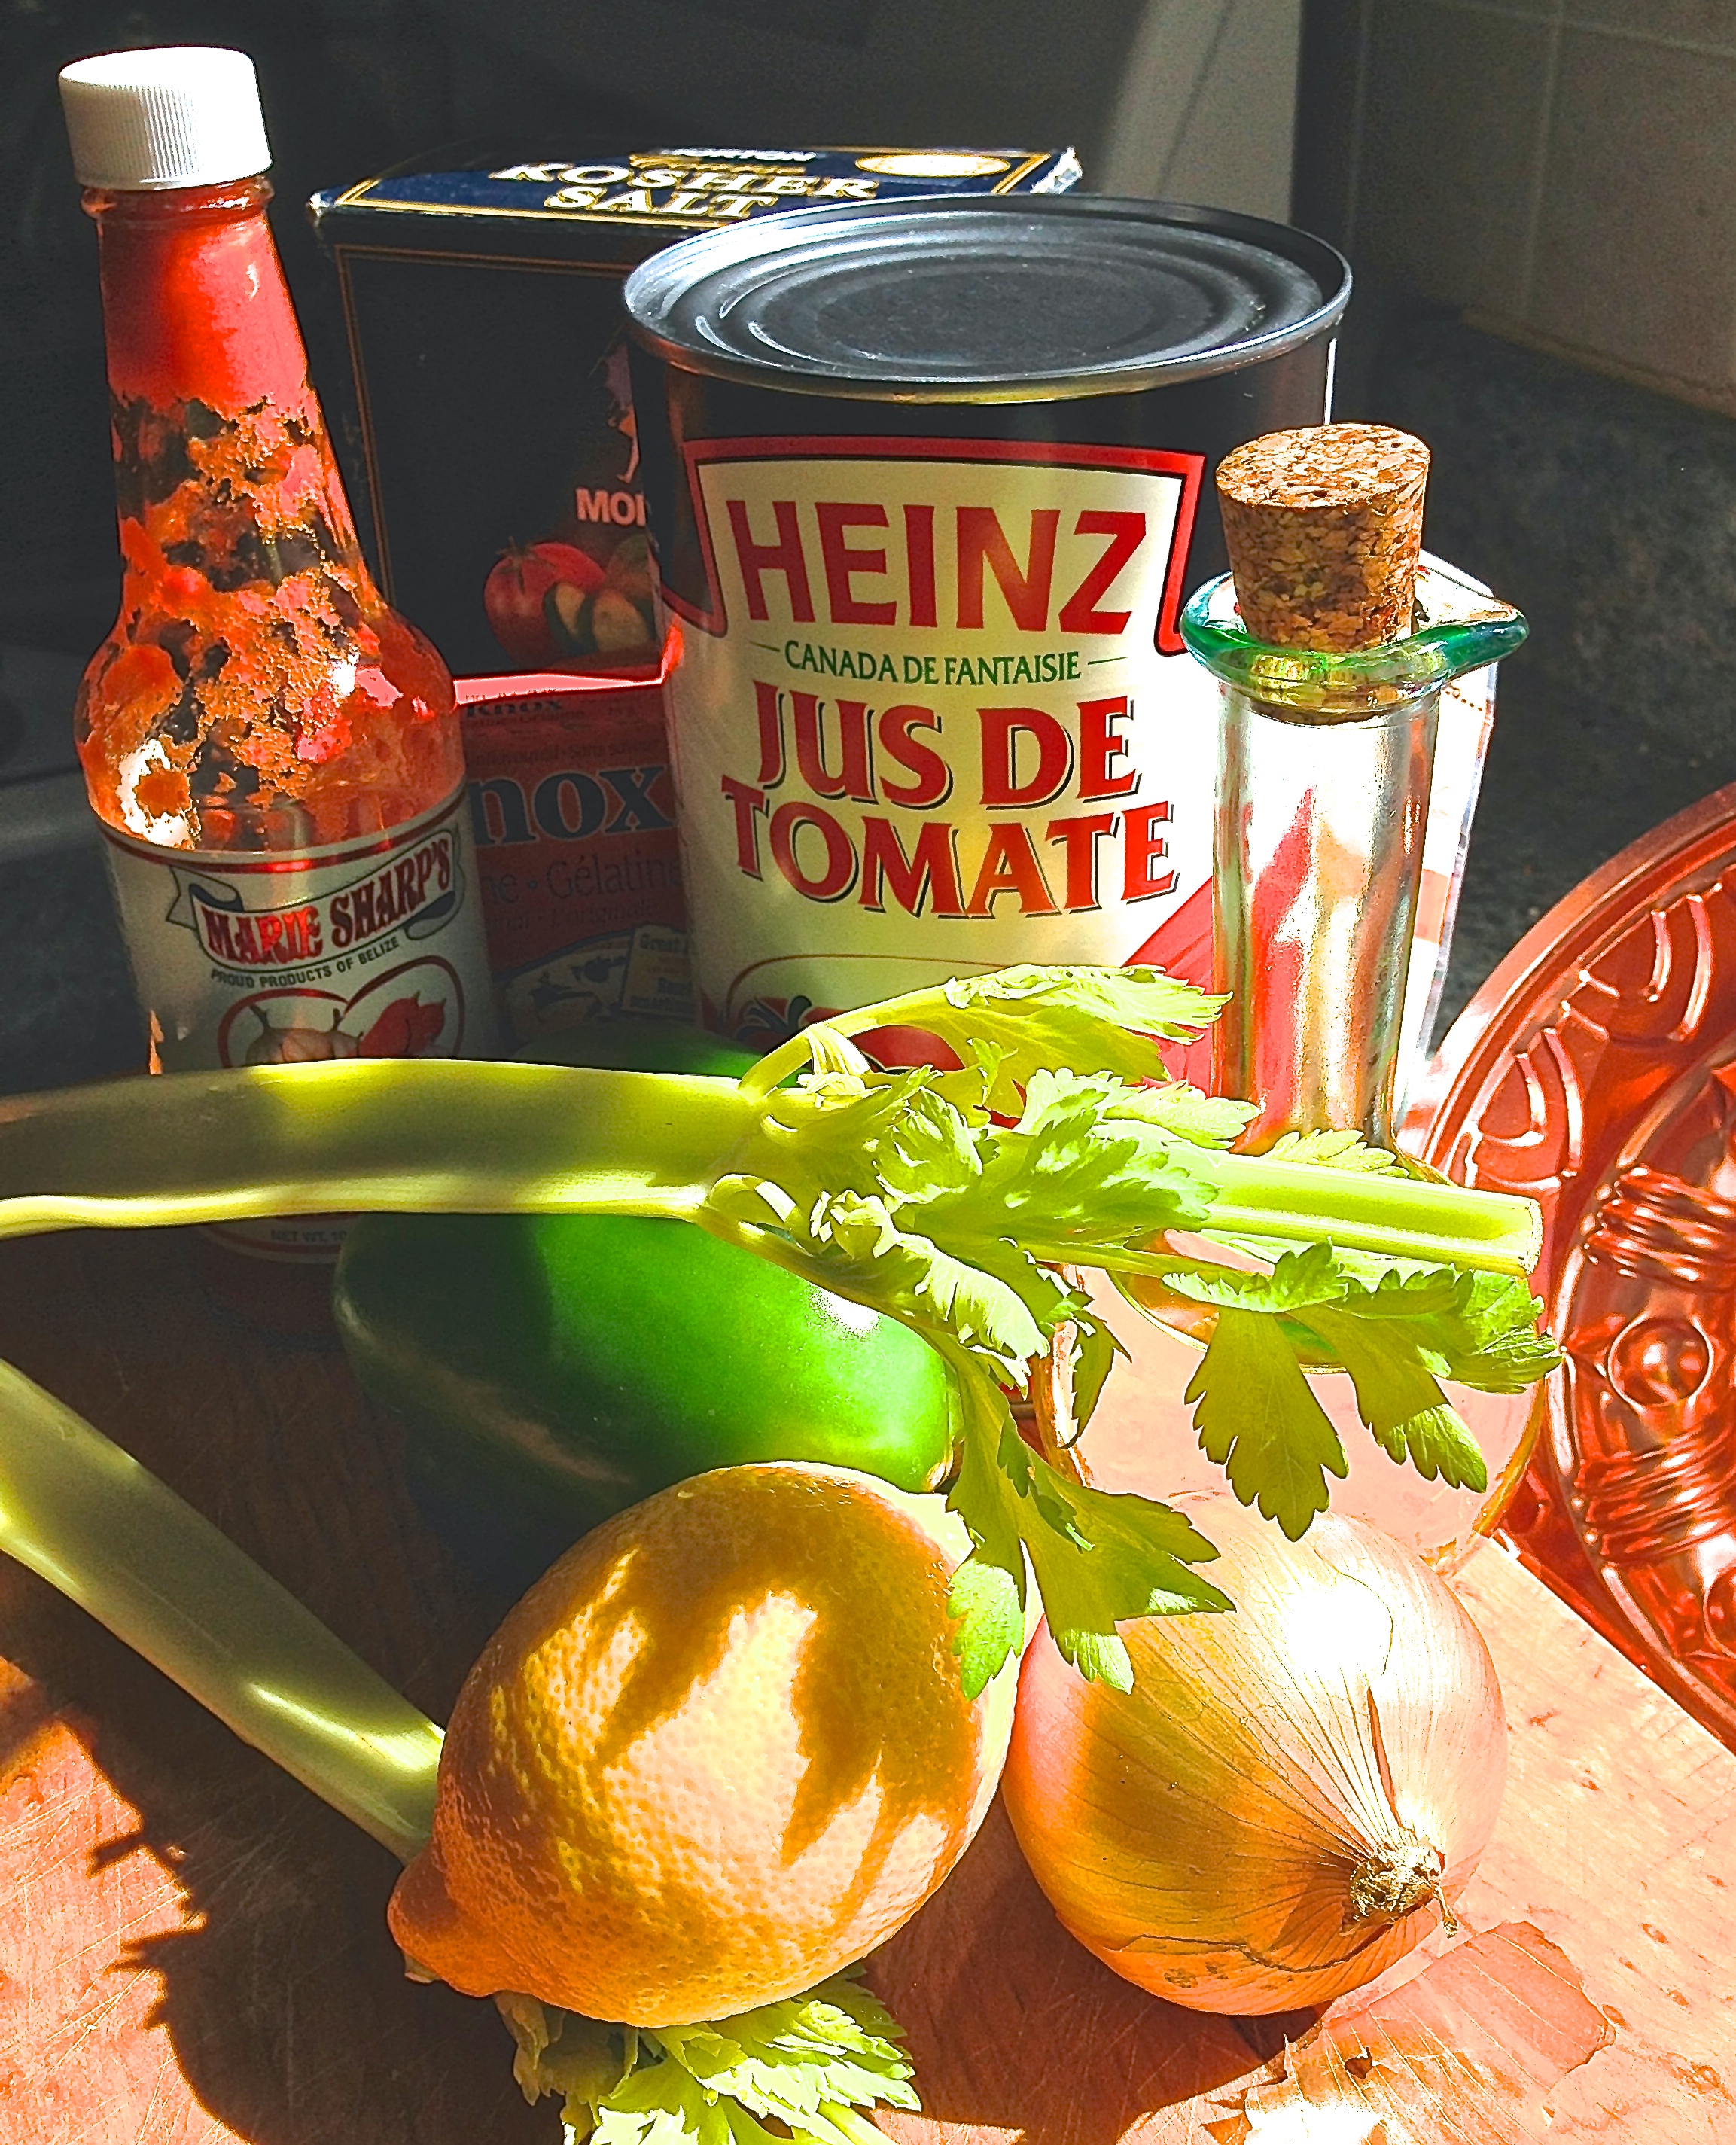
  • 2 Cups puffed raisins (raisins rehydrated in warm water)
  • ½ Cup white sugar
  • 2 Cups cold water
  • ½ teaspoon salt
  • 1 ½ teaspoons cinnamon
  • 2 Tablespoons butter
  • 3 Tablespoons fresh lemon juice
  • 1 teaspoon lemon extract
  • 2 Tablespoons cornstarch

Set oven to 450C.

Combine raisins, sugar, water, salt, cinnamon, butter and lemon juice in a pot and warm on stove over medium heat for 5 minutes. Stir to ensure sugar completely dissolves.

Meanwhile, in a small bowl, dissolve cornstarch in 3 Tablespoons cold water. Stir well.

Add constarch mixture to the raisin mixture and and continue to cook over warm stove for 5 minutes or until mixture noticeably thickens.

Remove thickened raisin mixture from heat. Add lemon extract and stir well. Allow the mixture to cool completely.

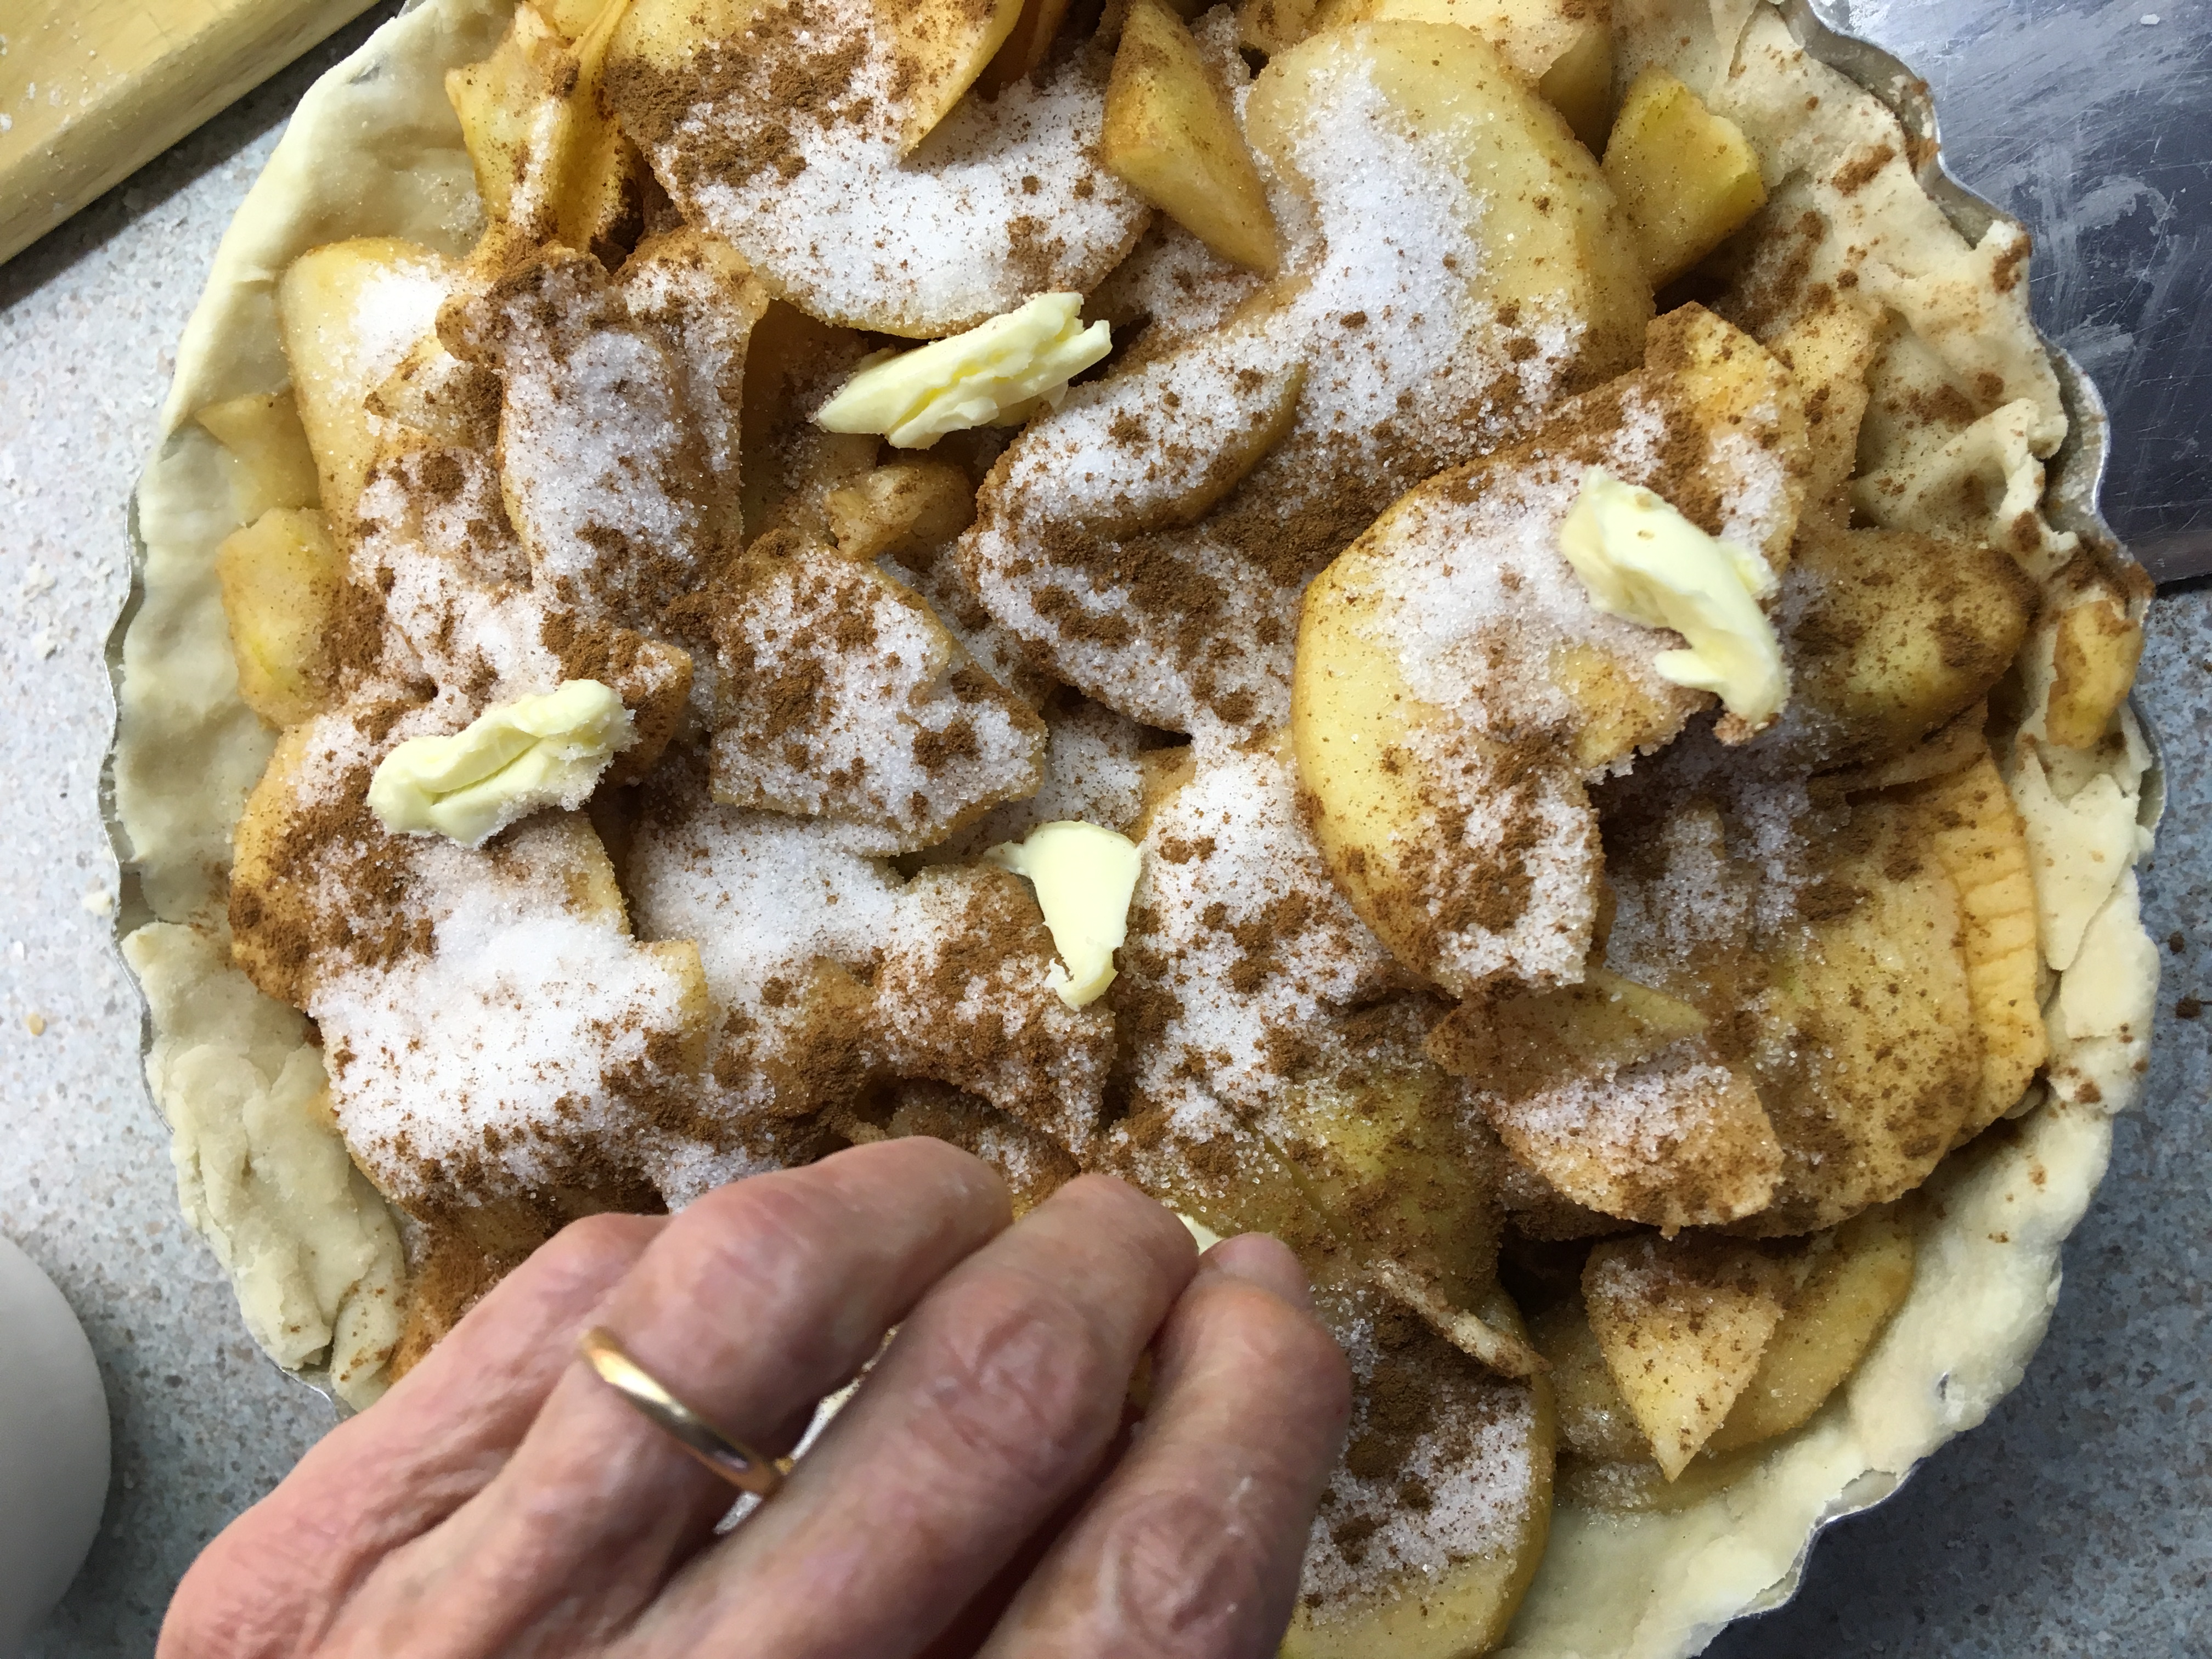
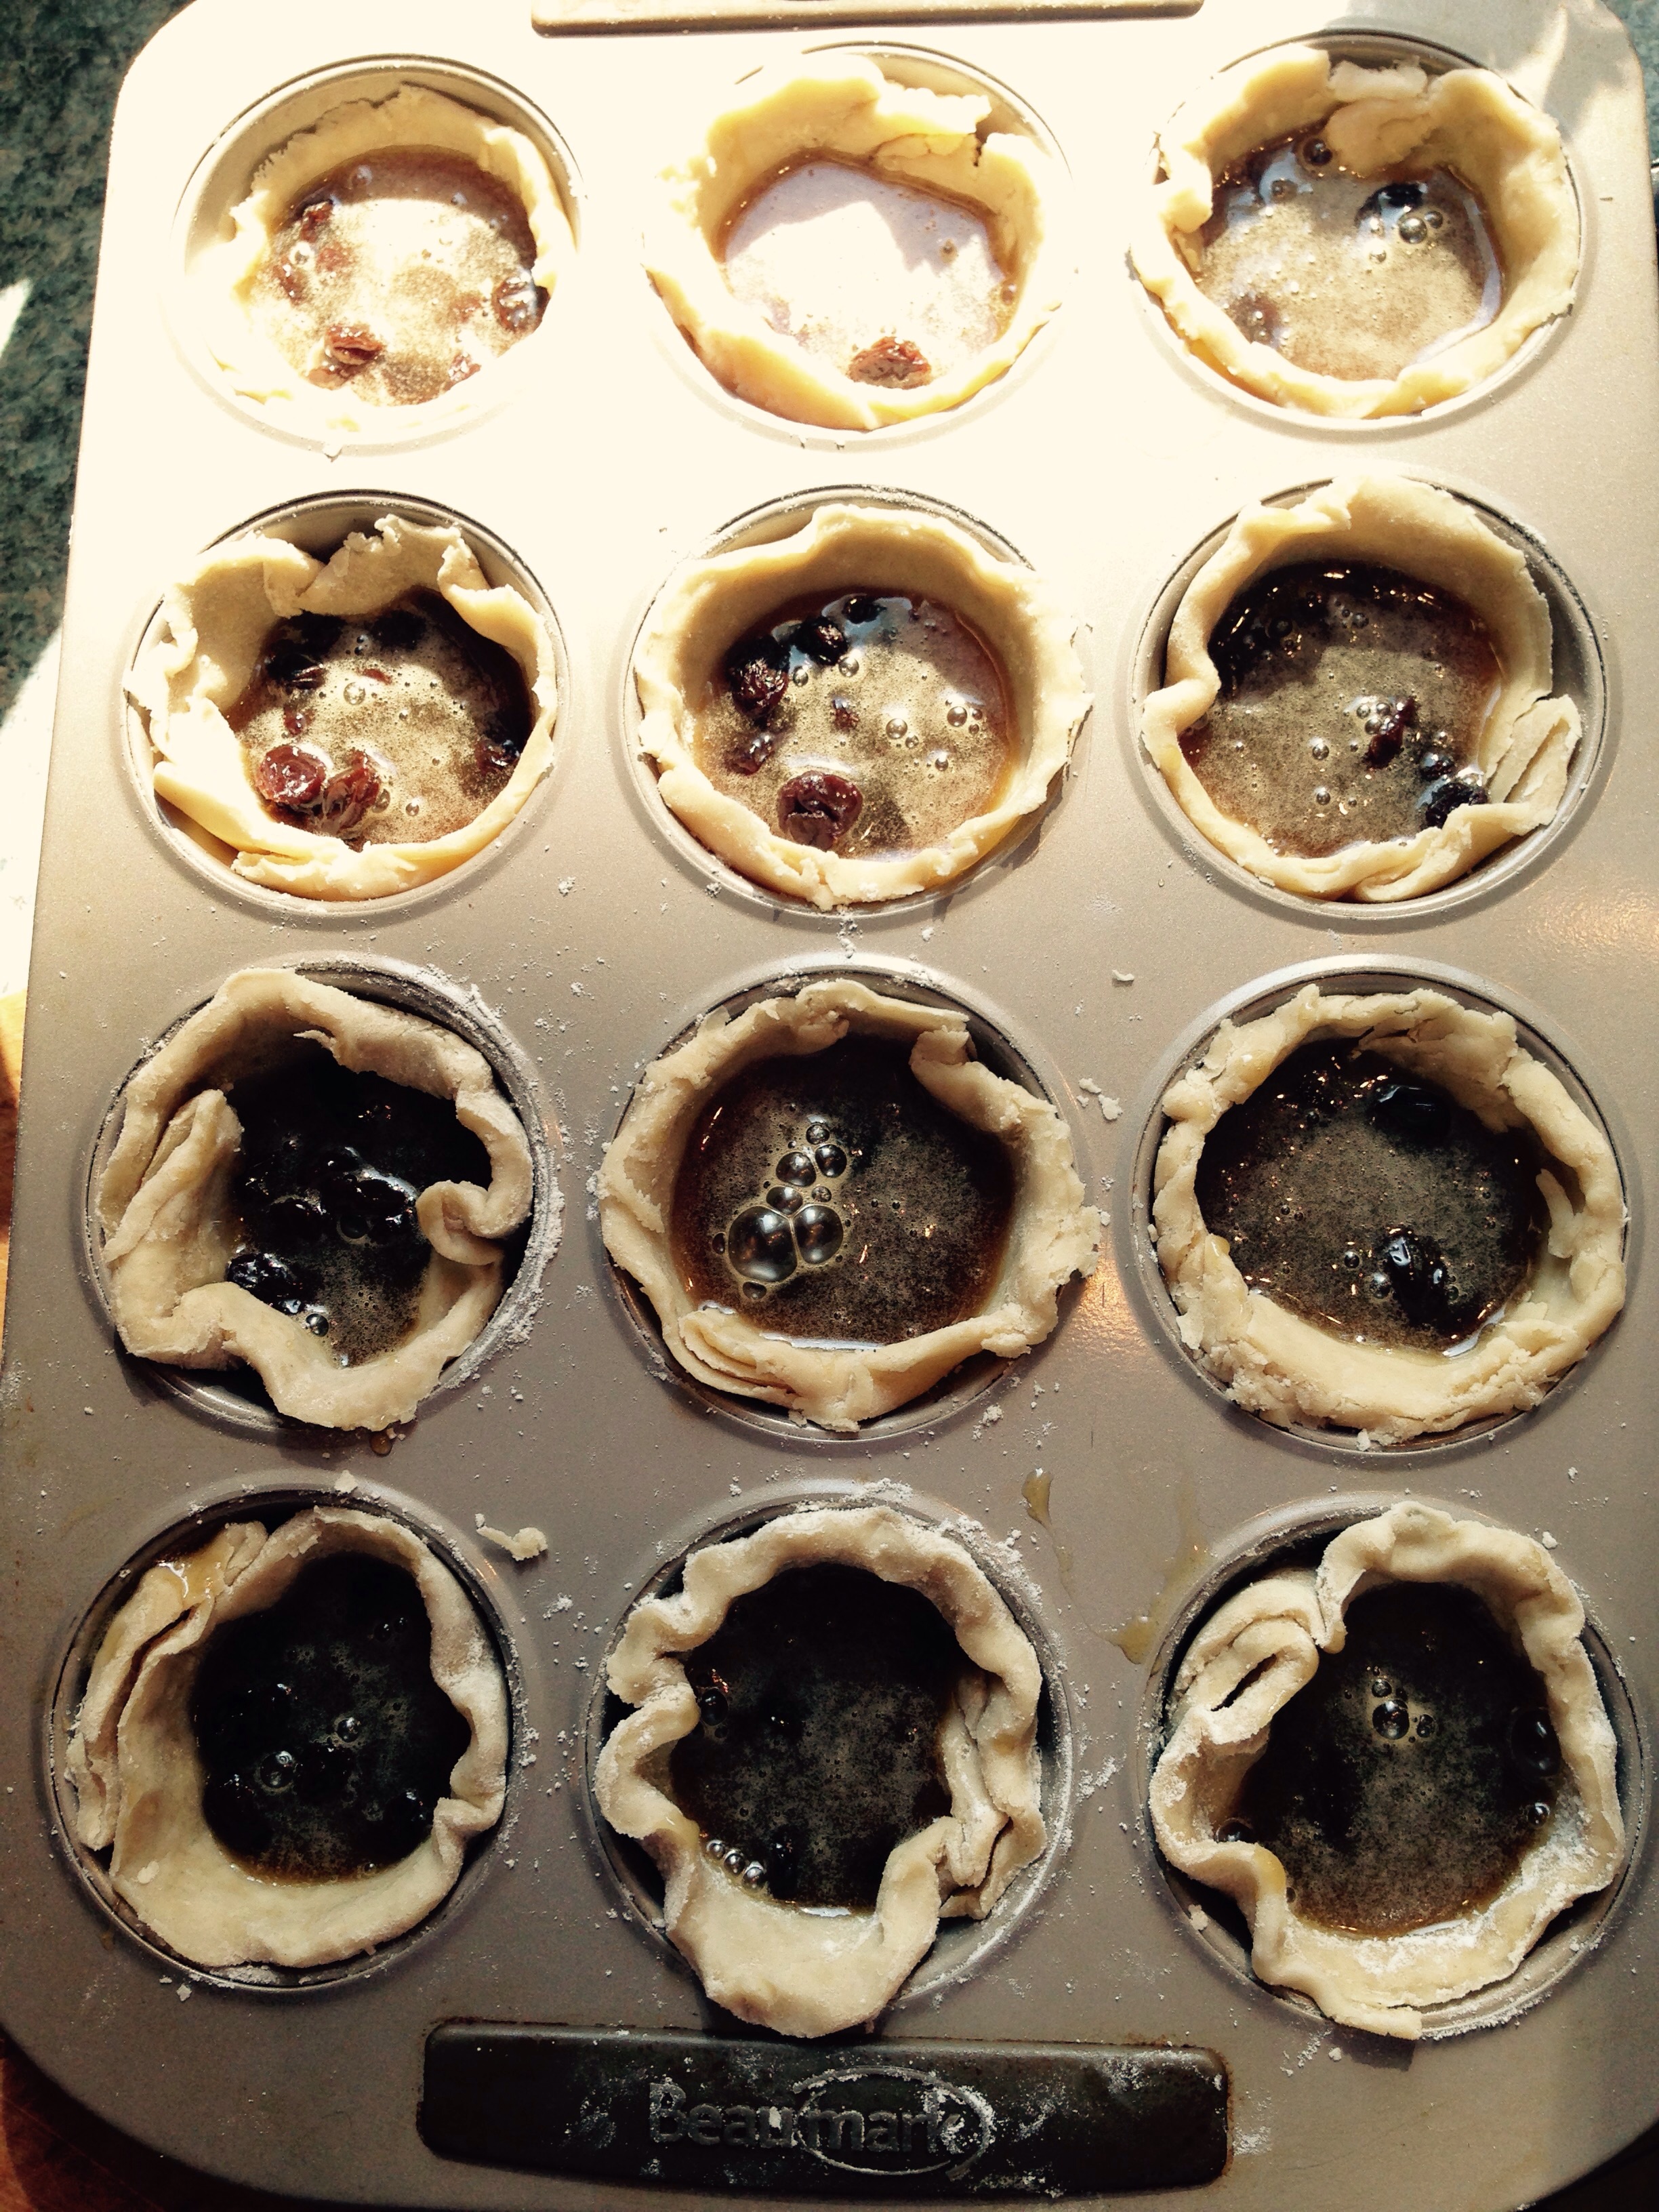
Add well-cooled raisin mixture to pastry lined pie pan.

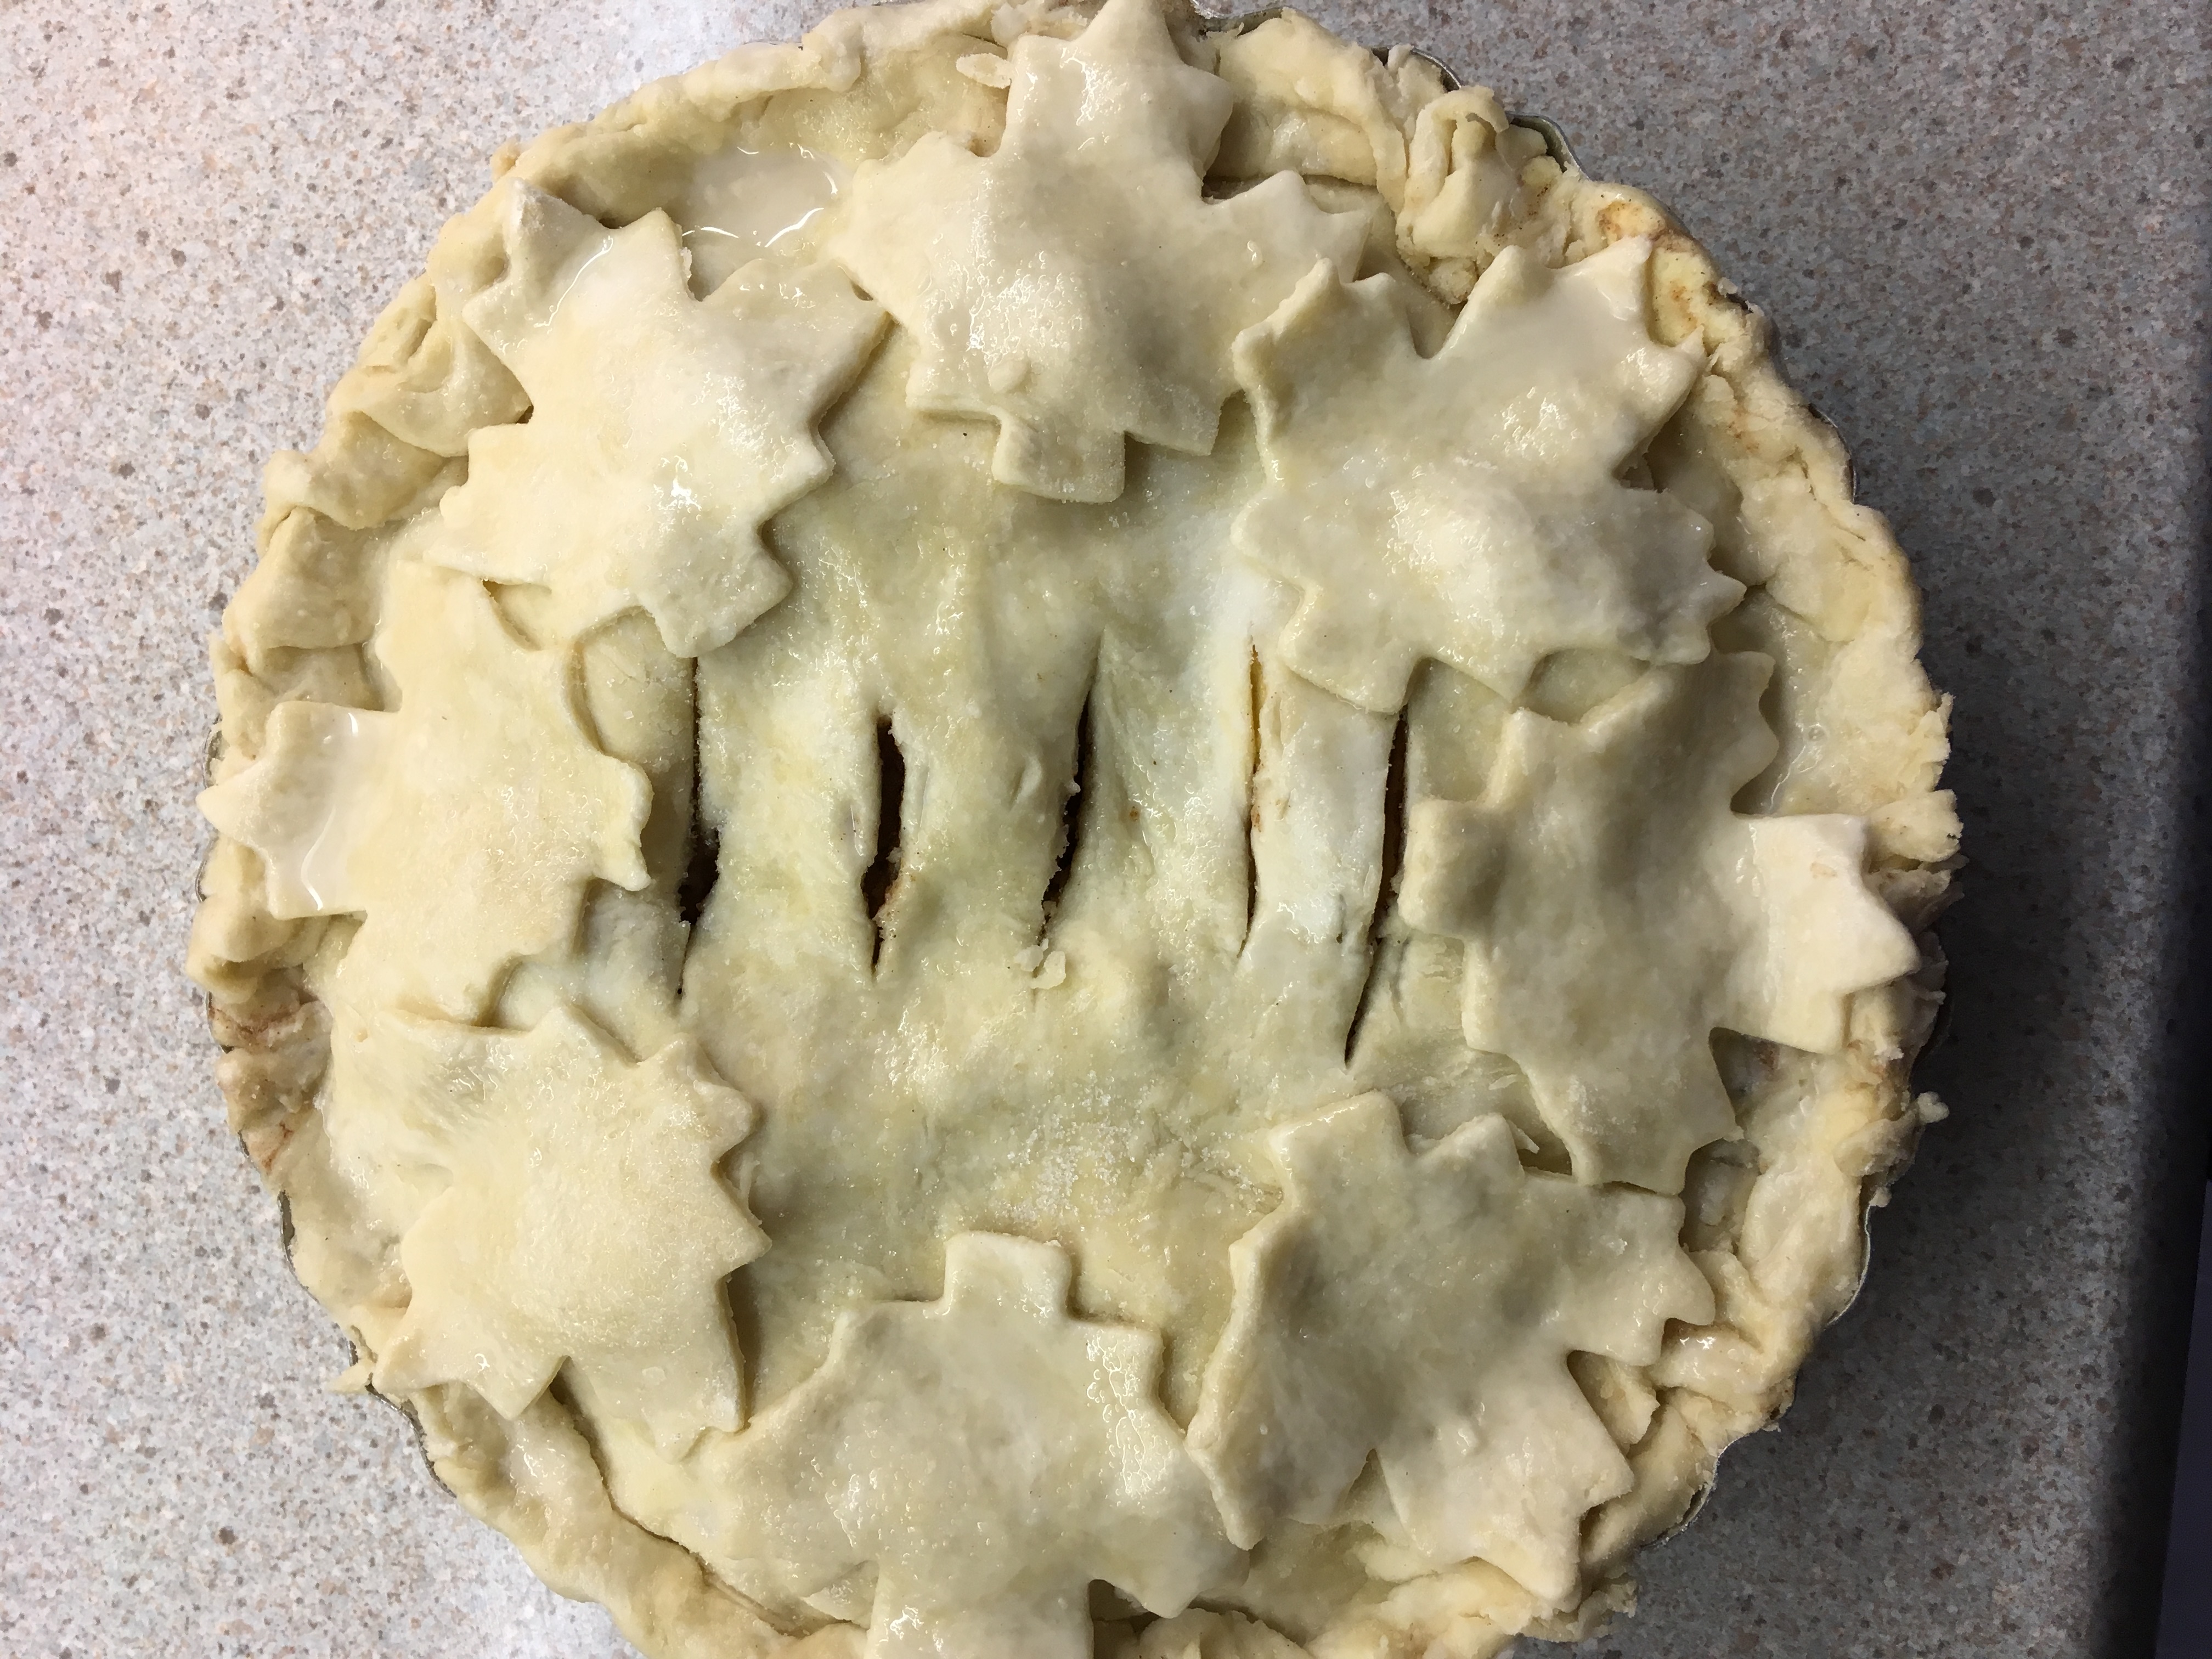
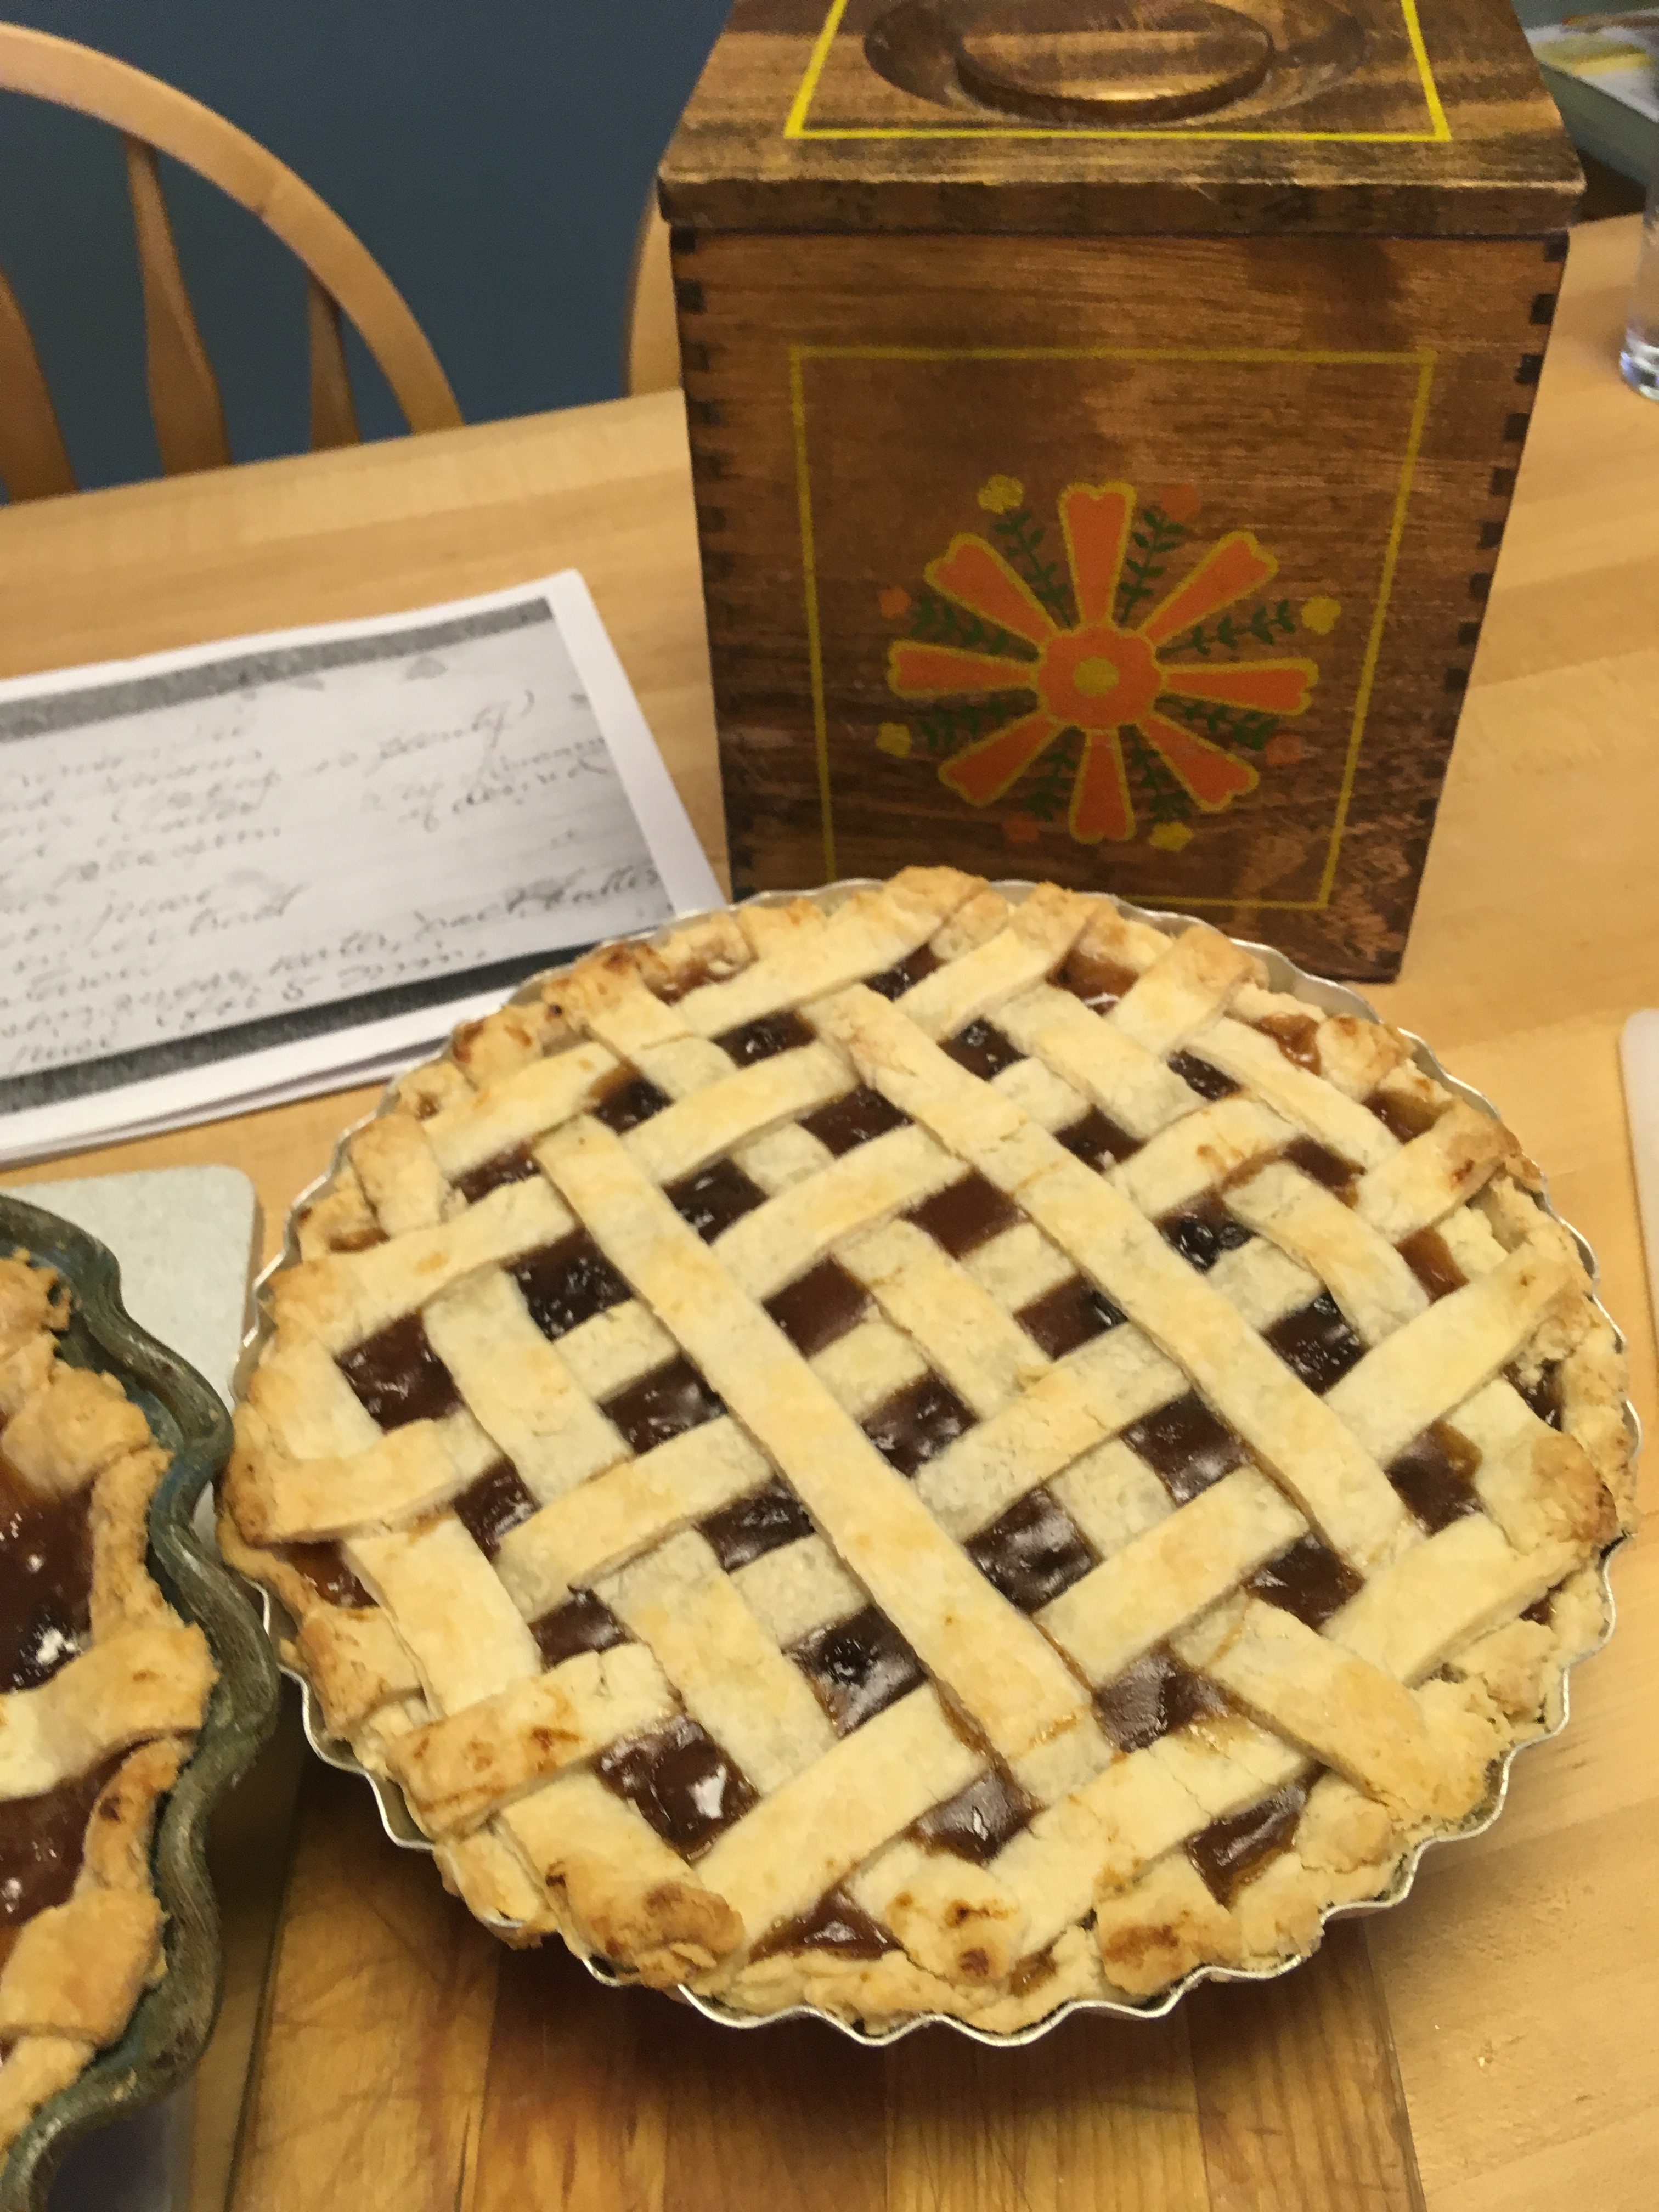
Make pastry strips, about one inch wide, and layer lattice-fashion on top of filling.

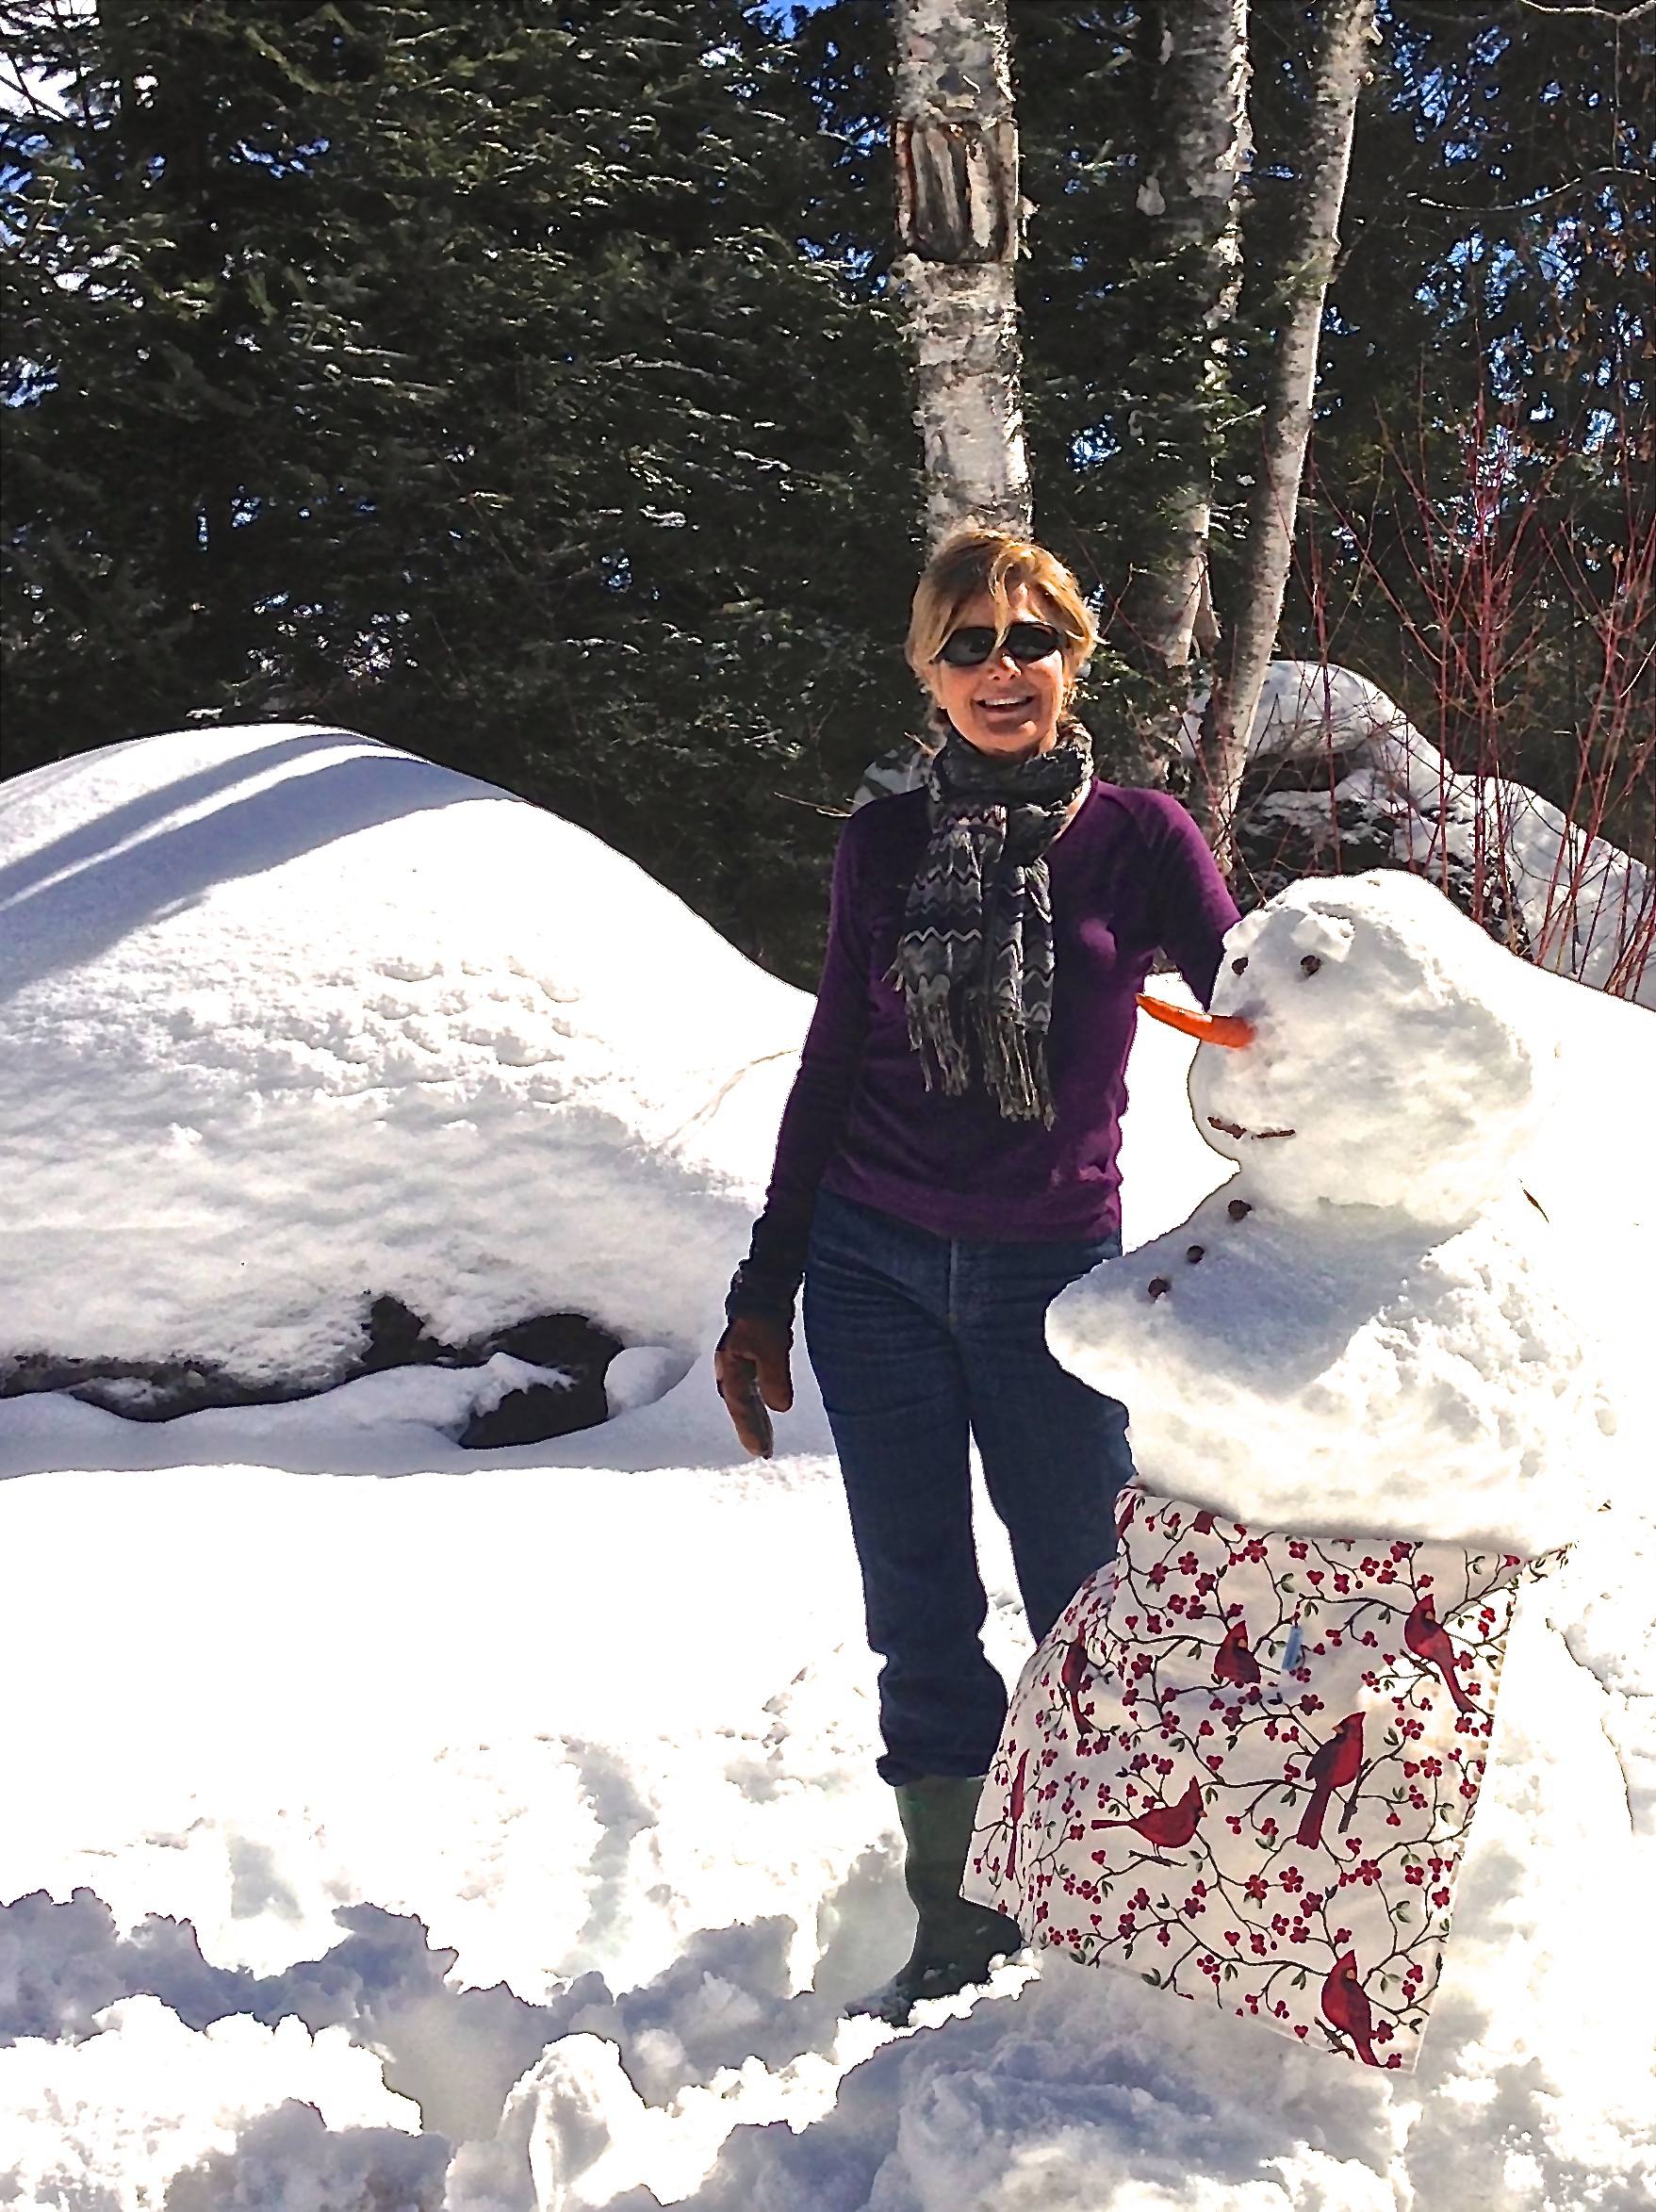
Barb having fun with the lattice-top

Finally, bake the pie in 450C oven for 25 minutes.

Don’t expect leftovers!


Filed Under: desserts

“The Pie Queen” Apple Pie

January 17, 2018 By Carrie

We sometimes tease my mother by calling her « The Pie Queen ». I think she secretly likes the moniker because she does seem to love making pie- especially apple pie. When we were little, she would serve her apple pies on special occasions- Thanksgiving, Christmas and Sunday dinners if we were having guests. I have fond memories of apple pie served warm from the oven, sometimes with vanilla ice cream on top. My father liked his with a slice of cheddar cheese which I thought a bit odd at the time, but now that I am « of a certain age », I prefer it that way too.

Mom just turned 85 and she is still turning out wonderful apple pies.

Mom’s 85th birthday celebration

I finally asked her for her recipe and was surprised to find out that her pastry recipe was so simple. No eggs, no sugar, no vinegar- just flour, a bit of salt, some water and of course fat (preferably lard but she tells me that bacon fat makes a beautifully smokey crust).

Here’s the recipe for the apple pie she made for Christmas of 2017.

It’s best to start with a pretty apron


Ingredients for pastry (enough for top & bottom shell):

2 cups flour
2/3 cup lard (or bacon fat if you dare)
½ teaspoon salt
4 tablespoons very cold water

Ingredients for pie filling:

5 apples
– preferably Northern Spy if you can find them, but Granny Smith’s are fine too
1 cup sugar (less if you prefer)
1 teaspoon cinnamon
a few teaspoons butter

Mix the flour and salt together in a large bowl. Add the lard to the flour mixture and incorporate well using a pastry knife. Gradually add cold water to the mixture and continue to incorporate with the pastry knife. When pastry is moist enough, form into two balls, wrap each in waxed paper and put in refridgerator to cool.

Meanwhile, wash and peel the apples. Slice the apples into a large bowl, leaving the apple cores and peels for the deer in your backyard. (what? no deer? well surely you have a squirrel out there that needs fattening up). Now stir the sugar and cinnamon into the sliced apples.

Your pastry should now be chilled and ready to roll. First flour your working surface as well as your rolling pin. Flatten out the first ball of pastry with your floured hands, turn it over on the floured surface and start rolling the pastry from the centre outward until it is an inch or two larger in circumference than your pie pan.

Spray your pie pan with a bit of Pam (mom swears by this to keep the pastry from sticking). Set the pastry gently in the pie pan. Distribute the sliced, spiced apples in the pie pan and dot the surface with about four or five small dots of butter.

Sugar and spice and everything nice

Roll out the second ball of pastry as described above. Fold this pastry over your rolling pin and every so gently unroll it over the apples. Now pinch the pastry all round the pan to make sure the juice stays trapped inside the pie- make it as pretty as you like. Cut away the extra pastry with a knife and use this for pastry cut-outs to put on the surface of the pie to make it even more pretty.

Ready for the hot oven

Alternatively, use the leftover pastry to make cinnamon twists (also known as « nun’s farts » in ruder circles), which are a real crowd pleaser.

                   Extra pastry can be used to make cinnamon twists a.k.a. nun’s farts

Once you have prepared the pie, you can either freeze it to bake it later, or bake it right away. Either way, put the pie in a very hot oven (425C) for 15 minutes to brown the pastry well, then lower the oven to 350C and continue to bake the pie for another 40 minutes. Take it out of the oven and cool on a rack until ready to serve. And…get out the cheese!

Get out the cheese!

Filed Under: desserts

Aunt Lois’ Nutty Broccoli Salad

December 21, 2017 By Carrie

My father, the baby of his family, had one sister- our Aunt Lois- and an older brother- our Uncle Gene.  Grandma Fern raised all three of her children, through the worst of the depression, each to be accomplished in their own right.  Aunt Lois became a nurse, beginning her career in the Big Apple, while her brothers joined the Canadian military.

IMG_4757 IMG_4758
When we were kids and family events were held at Aunt Lois’s house, it meant a full house of family (there were twelve cousins in all) as well as one or more of the other « usual suspects ».  When the food was served, not only was it good and plentiful but it was inevitabley served with a healthy side of stories, jokes and laughter.  I guess you might say that those were the good old days!

It’s hard to narrow down my Aunt’s recipes to just a few of my favorites but I did my best.  Here’s a salad recipe that I think stands the test of time.  Enjoy!

Dressing:
1 ½ cups mayonnaise
2 Tablespoons wine vinegar (red or white)
1 Tablespoon Dijon mustard
3 Tablespoons honey
½ cup raisins

Salad:
2 bunches broccoli (tips only), cut into florets
1 red onion, chopped
1 cup sunflower seeds
¼ pound bacon, cooked and crumbled

To make dressing, combine the mayonnaise, vinegar, mustard and honey. Add the raisins and let stand for at least 30 minutes or ideally refrigerate overnight.

Just before serving, combine all of the salad ingredients and toss with the dressing so that the dressing lightly coats all of the broccoli. Save any extra dressing for another day.

Filed Under: salads

Nuts & Bolts

March 23, 2016 By Carrie

I guess we could have named this blog « Our Parents’ Bites » since our fathers have had some great recipes up their sleeves as well- and not all of which require a barbeque. Here’s a great recipe my dad used to make for special occasion. It makes a munch that goes great with cold beer or your favourite cocktail. This recipe is simple to make and surprisingly addictive.

Ingredients:

  • 2 pounds salted peanuts
  • 12 ounces shreddies cereal
  • 10 ounces cheerios
  • 6 ounces small round pretzels (if you can’t find them, just double up on the sticks)
  • 8 ounces stick pretzels
  • 2 cups oil (canola or another mild-tasting oil preferred)
  • 2 Tablespoons worcestershire sauce
  • 1 Tablespoon garlic salt
  • 1 Tablespoon seasoned salt

Set the oven to 250 Farenheit .

Combine the first 5 dry ingredients in a LARGE roasting pan, or a large bowl and a roasting pan (this recipe calls for a large volume of ingredients). Mix well.

image

Mix the remaining ingredients together to make a flavourful sauce and pour over the dry mixture in the roasting pan. Mix well again to ensure that the liquid covers as much of the dry ingredients as possible.

Put the roasting pan in the 250F oven for 2 hours, stirring every 25 minutes or so.
After 2 hours, remove the roasting pan from the oven and cool. Pack the nuts & bolts in jars.
Freezes well.
image


Filed Under: appetizers

Norwegian Whole Wheat Bread (KNEIPPBRØD)

March 21, 2015 By Carrie

Since Mona is part Norwegian, it only makes sense to have a few Norwegian recipes on our blog. This recipe is for a whole wheat bread, which from what I’ve read, is very popular in Norway. I decided to try it out while my husband and I were at the cottage for a few days. In spite of the fact that it was late in March, it sure still felt like winter (I am not complaining, since other parts of Canada have had it much, much worse this year). And winter is the season to make bread (and snowmen, er… women), don’t you think?

My first snow woman.  Chesty little thing isn't she?

My first snow woman. Chesty little thing isn’t she?

So, now for the bread recipe- which makes 2 healthy loaves….

Read More »

Filed Under: breads Tagged With: The 'final rise'

Grandma Fern’s Butter Tarts

March 7, 2015 By Carrie

Our entire family of cousins loved our Grandma Fern for countless reasons, but most of all because she had a way of making sure we knew she loved each and every one of us.

Carrrie's Grandma Fern

Carrrie’s Grandma Fern

In her early 20’s, Grandma Fern became a single mother of three small children at a time when single moms weren’t exactly embraced in small town Canada.  Grandma mentioned that her parents sent her brother to university, but that since she was a girl, she was only able to have piano lessons.  So all in all, it couldn’t have been easy for her to make ends meet way back then, with three wee ones and just a high school education.

No doubt she faced challenges, but somehow those challenges didn’t seem to get in the way of her love of a good joke or her interest in current events, the world of politics and of course sports (especially hockey).  Which I guess are some of the other reasons that we all loved her so much.

Grandma Fern’s kitchen was a narrow galley, no bigger than a modern-day clothes closet.  But out of that tiny kitchen came the most amazing butter tarts- or ‘taffy tarts’ as she called them.  Needless to say, they were full of ingredients that are frowned on these days, you know- sugar and lard, white flour and all.  But hey- file these babies in the ‘special treat’ category and enjoy them only on very special occasions.
You only live once.  I’m so glad we asked her for her recipe.

Preset oven – 410F.

Ingredients for the pastry:

  • 5 Cups unbleached flour
  • 1 pound lard
  • 3 tablespoons brown sugar
  • 1 teaspoon baking powder
  • ½ teaspoon salt
  • 1 tablespoon white vinegar
  • 1 egg

Beat egg and vinegar together in a one cup measure.  Add enough cold water to to fill up the cup.

Meanwhile mix flour and the other dry ingredients together.  Add the lard to the dry ingredients using a pastry blender or two table knives, until the flour mixture resembles small peas.

Gather the dough into five balls, wrap in waxed paper and refrigerate for at least two hours.

Once pastry has been chilled, use a rolling pin to roll it out between two sheets of waxed paper.  Use a pastry cutter to cut the pastry into 4″ circles, or big enough to fit your muffin tins.  You may have to experiment with this a bit.

Ingredients for the filling:

  • ½ Cup raisins
  • ½ Cup corn syrup
  • ½ Cup brown suger
  • ½ Cup butter
  • 1 egg, beaten
  • 1 teaspoon vanilla

Ready for the oven

Ready for the oven

Put the raisins in a heatproof bowl and cover with hot water.  Let stand for 30 minutes.
Mix the rest of the filling ingredients together with a wooden spoon.
Drain the raisins and distribute them equally into the pastry shells in the muffin tins.

Then pour the filling over the raisins.

Bake tarts in the preheated (410F) oven for 8-10 minutes or until bubbly.  Reduce oven temperature to 350F and bake for another 18 minutes.

Remove tarts from the oven to cool before carefully lifting each one from from the tins.

And oh yes, try to eat just one.Hot from the oven

Hot from the oven

Filed Under: desserts

Lemon Squares

March 2, 2015 By Carrie

IMG_0383 But before we get to her apple pie, thought I would try something simpler, since who doesn’t like lemon squares?  This recipe of my mother’s is what I would describe as a ‘sleeper’- simple and surprisingly good.

Ingredients for the crust:

  • 1 ⅓ cup finally crushed soda crackers
  • ¾ cup butter
  • ½ cup white sugar
  • ¾ cup unbleached flour
  • ½ cup coconut
  • 1 teaspoon baking powder

Mix these six ingredients together and remove 1 cup of the mixture and reserve for topping.

Press remaining mixture into a buttered 8 X 8 inch pan and bake in a 350F oven for 15 minutes only.

For lemon topping:

  • 3 large eggs
  • 1 whole lemon, washed well, rind and juice
  • 1 cup white sugar
  • ¼ cup butter

Beat the eggs well.  Grate the lemon rind, then juice the lemon.

Add the lemon rind and juice, as well as the sugar and butter to the beaten eggs.  Pour into a small saucepan and bring to a simmer, stirring until thickened.

Pour the thickened lemon mixture over the crumb base.  Then sprinkle the reserved cup of crumb mixture over the top.

Return to the oven and cook until topping is browned (about 15 minutes).

Remove pan from oven, cool, then cut into squares.

Filed Under: desserts

Tomato Aspic Salad

March 2, 2015 By Carrie

I remember my Grandmother Fern usually served a chilled jellied salad with dinner, more often than not a version of this Tomato Aspic.  Aspic salads were popular in the 60’s, but you can still find recipes for them on the internet.  Here is a version of her favourite recipe.

Ingredients:

  • 3 cups tomato juice
  • 1 stalk celery, finely chopped
  • 1 small onion, finely chopped
  • 2 lemon slices
  • 1 teaspoon salt
  • ⅛ teaspoon pepper
  • 2 envelopes unflavoured gelatine
  • ½  cup tomato juice, chilled
  • ¼ cup lemon juice
  • a splash or two of your favourite hot sauce
  • 1 ½ cups chopped raw vegetables (celery, green peppers, onions)
  • salad greens for decorating
Ingredients for tomato aspic

Ingredients for tomato aspic

Now that I sit back and take a look at the ingredients for this salad, I can see how healthy it really is is though I certainly didn’t appreciate it at the time.  I was one of the world’s pickiest eaters, surviving mostly on peanut butter & honey sandwiches and apple sauce & cottage cheese. Well, at least I managed to get my protein!

Directions:

Combine the 3 cups of tomato juice with the celery, onion, lemon slices, hot sauce and salt & pepper in a small pot.  Simmer on the stove, uncovered, for 10 minutes.

Strain to remove the vegetables and lemon slices.

Meanwhile, soften the gelatin in the chilled tomato juice and lemon juice for about 10 minutes.  Add the gelatin mixture to the warm, strained tomato juice, stirring until gelatin fully dissolves.

Chill the combined ingredients for an hour.

Once chilled, add the chopped vegetables.  Pour into a fancy mold and chill completely, ideally overnight.

Jelly mould - a thing of beauty

Jelly mould – a thing of beauty

I found this mould at a second-hand shop and it was just what I was looking for.  Engraved on the side is an indication that it will hold     3 ½ cups, but I managed to squeeze just a bit more into it to make this recipe.

There are a few secrets to removing a jelly salad from a mould like this.  First, run a bread knife around the inside edge of the mould.  Then, sit the mould in warm water for a minute or so.

Not too long, or the jelly will start to dissolve (like it did for me).

Next, put a plate, larger than the size of the mould, on top of the mould.  Finally, quickly turn over so that the jellied salad falls onto the plate.  It helps if the plate has been slightly moistened with a bit of water first so that the you can easily maneuver the jellied salad along the plate to centre it.

Serve on a bed of salad greens, but of course not to picky 10-year olds.

Filed Under: salads, Uncategorized

What’s New

  • Besta’s Raisin Pie February 4, 2018
  • “The Pie Queen” Apple Pie January 17, 2018
  • Aunt Lois’ Nutty Broccoli Salad December 21, 2017
  • Nuts & Bolts March 23, 2016
  • Norwegian Whole Wheat Bread (KNEIPPBRØD) March 21, 2015

Copyright © 2025 · Our Mothers Bites